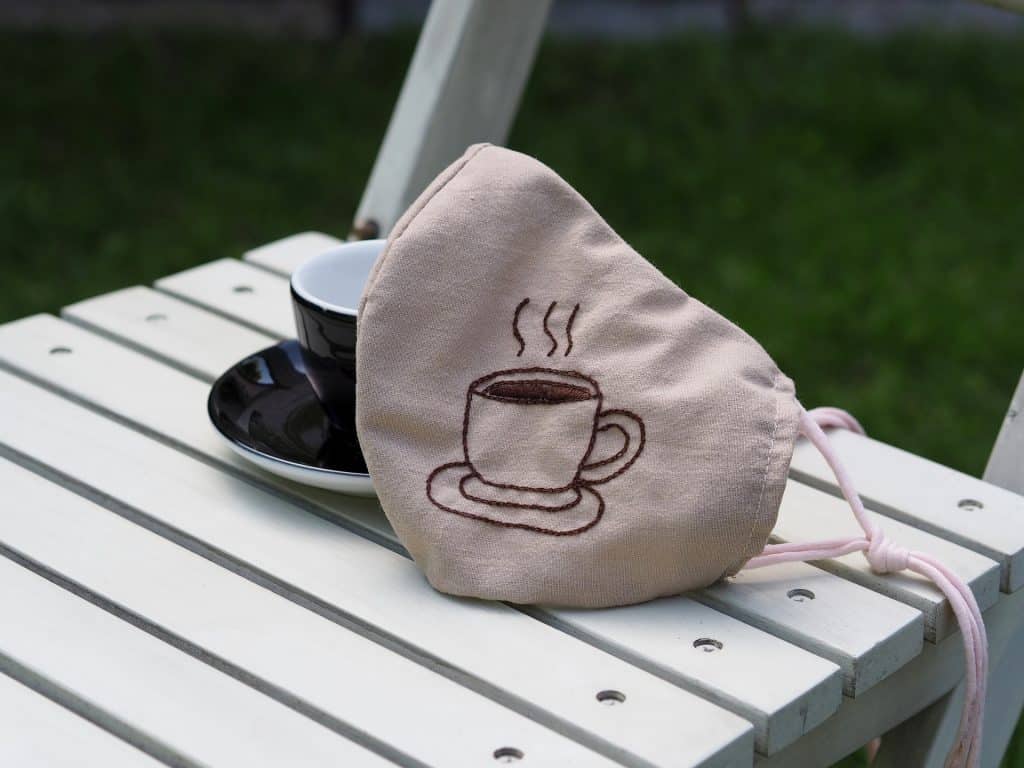
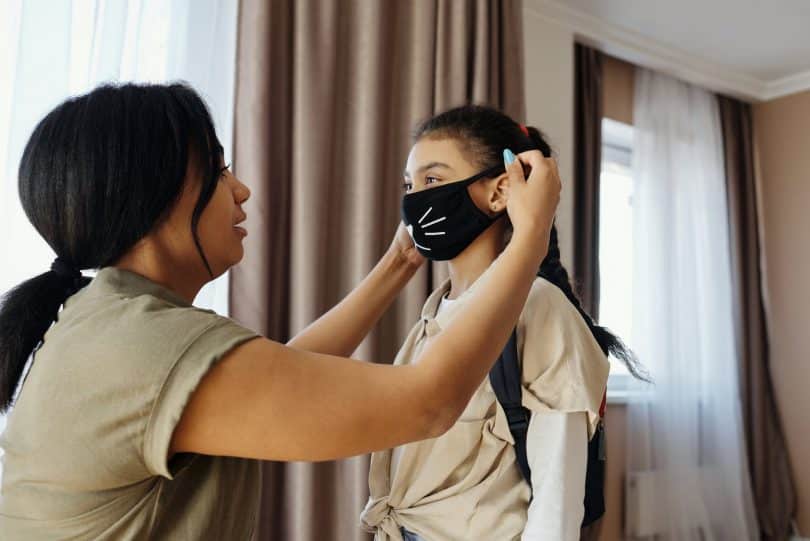
Keeping yourself safe and secure should be your priority. But who said that things that protect you need to look boring and simple? Yes, you can create a DIY mask that not only protects you but also boosts your confidence, helping you complete your outfit in style.
So, if you find it difficult to get an appealing, colorful, and stylish mask on the market with a pocket-friendly price tag, make your own. Play with as many colors and designs as you want. In fact, make a mask for each of your luxury outfits so that you can just wear them when needed.
Make your own DIY Mask at Home
Bandana Mask
If you want a matching mask with your outfit, this is the best option. Bandana is a perfect material to make a durable and effective mask. By wearing this mask, you can protect yourself from contracting viruses and germs. Not only this, but they look exceptionally chic and classy when you wear them.
Materials
- or elastic bands
Method
So, bring all the items to the table, and start the work. You need a bandana that is 50cm in length and 50cm in height. However, if the material is bigger, you can simply cut it to get the size 50X50. Lay this cloth flat on the surface and fold it in half. Now, fold the top and bring it to the center. Fold the bottom up to meet it at the center.
Take your two elastic bands and loop them around each end of clothing about 2 inches in from the end of your bandana. You need to fold the right side of the fabric towards the center, then do the same for the left side. Note that both folded ends will meet at the center. You can also tuck these ends in the folds or move to the next step.
Secure your mask with a hair tie or band and place them over your mouth by wrapping the elastic band around your ear. Remember that the band or hair tie should be tight and not let the air pass through the corners.
Hand Sewn Face Mask
Do you claim to be good at sewing? Now it’s time to test your skills. Though you don’t have to do any challenging and complex sewing, you should have basic sewing knowledge to succeed at this DIY project.
The best part of this DIY face mask is that you have plenty of options. You can go for any type of cloth with any design and color. Therefore, if you are planning to attend a lavish birthday or wedding event tonight, you don’t need to wear a boring black or one-color mask. Yes, you only need a pretty cloth piece to complement your dressing.
Materials
- Needle and thread
- Cloth piece
- Scissors
- Kitchen towel
- 15cm Elastic
Method
Let’s begin! Cut two pieces from your desired fabric. They should have a 25cmX 15cm size. Here it’s also important to discuss that you need a thick material to prevent light from passing through it. This way, it will be effective and protect you from germs. Place one piece on top of the other one.
You need to fold the top of the fabric around 0.6cm. Make sure that you have folded both pieces. Now stitch this corner all the way across. It’s time to fold 2.5 cm of the bottom upwards and stitch only the corners of your fabric. This will create a pocket to place a filter in the end.
Fold one side of clothing at about 1 cm and stitch it in a way that leaves the space to tie the thread in your mask. And both corners will have an opening to insert the thread. Repeat the same procedure on the other side. Take a 15 cm elastic and thread it through the hem on one side and tie the ends.
Again, do the same for the other side. Place the kitchen paper carefully inside the pocket you have made.

Mask with Built-in Strings
This is another amazing and easy way to make your own DIY mask. If you are looking for a simple and decent option that you can wear anywhere, it will work for you. Of course, you can’t show off your chic mask in public, but it’s effective and can protect you from germs.
Materials
- An old t-shirt
- Scissors
- or ruler
Method
Take any old t-shirt that you may throw in the garbage can. Place it on a flat surface and cut a piece of about 8 inches from all sides. Lay these pieces on a flat surface. Now, you need to measure around 6 inches from the side of the fabric and cut the material by leaving about half an inch of your cloth at the bottom and top. This way, you will get the strings that you will use to tie your mask.
You need to cut the other corner using the same method to create strings on that end. There are two options to wear it. First, you can place the mask on your mouth and tie both strings at one end behind your ears. Do the same for the other end.
The second option is that you can tie the strings behind your head. Place your DIY mask on your face, stretch the two top strings behind your back, and tie them. Now, bring the two strings at the bottom around your neck and tie them together.
Bottom Line
So, now you know that making a DIY mask is pretty easy, like doing simple nail art. Most importantly, if you are crazy about matching masks, you can purchase cloth pieces that can complement your chosen outfit to make masks.


