Making your own tumbled stone jewelry, whether it’s to give away as gifts, to wear yourself, or to sell at the market, is probably one of my favorite hobbies (especially to watch!)
While I don’t make a lot of my own jewelry, I used to frequent workshops at craft fairs and market days, where people would bring their own stones and findings to make into uniquely crafted pieces. (Though, I still enjoy a good macrame project during slower parts of the year.)
If you’re new to stone jewelry, we’ll cover a bit about tumbled stones. And if you’re more interested in that part, we also have some resources to help you get started with rock tumbling.
Let’s get started.

What are Tumbled Stones?
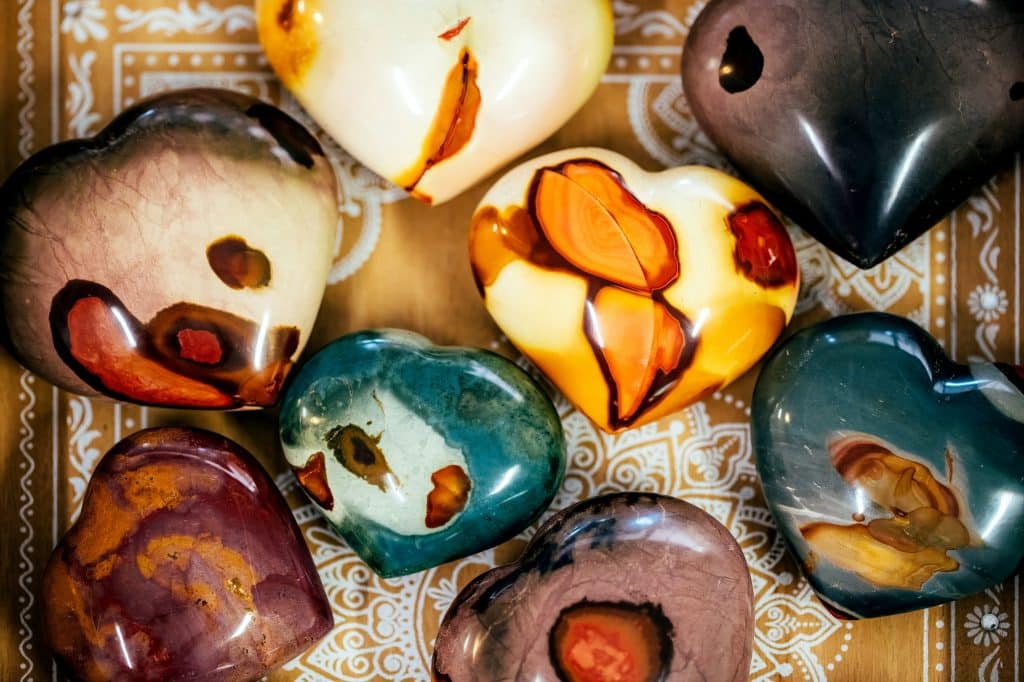
Tumbled stones have been put into a tumbler, a rotating barrel that wears down stones over the course of weeks, sometimes more than a month. This turns them into the smooth, rounded stones you’re probably used to seeing in stores.
How Do You Polish Rocks?
Polishing rocks typically takes a few weeks—this is the last phase of tumbling rocks. You use filler and very fine powder for polishing in the to polish stones in a tumbler for about a week.
Additionally, you can burnish stones to make them brighter, which typically brings out more vibrant colors in semiprecious stones.
Burnishing doesn’t always “work”—some stones don’t benefit from burnishing as much as others and retain their dull appearance. And some of your findings, like ocean glass, might look more appealing without burnishing, which can make them lose a bit of their “frosty” look.

Tools You’ll Need for Making Tumbled Stone Jewelry
Here’s a list of general kits and tools for tumbled stone jewelry-making that come in handy for a variety of projects.
It might seem a little silly that you would need more than a pair of pliers, but they all work a bit differently.
You have tiny roundnose pliers meant for making perfectly curved loops in your wire, while regular needlenose pliers can be used for just about everything. The 6-in-1 bail-making pliers are optional, but really convenient if you’re going to be doing lots of wire wrapping.
You’ll also want a solid pair of wire cutters.
I’ve also included the best all-inclusive kit I could find, so you don’t have to hunt all of these down individually. You won’t really need them all right off the bat, but it’s a great toolkit to get if you want to try out lots of different kinds of jewelry projects.
If you plan on using lots of charms in your work, you’ll definitely want to get a storage case with plenty of compartments—you’ll save a lot of time rather than trying to sort them, only to have to put them back in bags.
(Note: If you’re looking just to get the minimum, you’ll need at least a basic set of needlenose pliers and wire cutters for the projects below.)

Simple Jewelry Projects that Don’t Involve Drilling
Today, we’re just breaking the ice!
Here are some simple tumbled stone jewelry projects that don’t require a lot of extra tools and can be completed fairly quickly (and without a drill).
You can work on techniques like wire wrapping, macrame, or just display your stones in cage jewelry to avoid having to alter your stones too much by drilling holes into them.
How to Make a Stone Pendant Necklace
Stone pendant necklaces make fun projects. There are a few ways you can use stones in a necklace. Pendants are a little more common and you can use a few different techniques to create one.
Wire wrapping is pretty simple, but you may have seen jewelry makers create more detailed projects with beads on the wire.
If you just like the look of the stone on its own, it’s perfectly fine to stick with just the wire! They’re simple and show off your stone without covering it up. Here are some great video tutorials on wiring different stones, from more purposefully shaped stones to the oddballs.
Quick and Easy Tumbled Stone Jewelry
If you’re looking for something a little simpler than wire wrapping, you can easily display your stones in caged jewelry. There are lots of holders that work perfectly for necklaces, bracelets, and even earrings if you’ve got some smaller stones or chips.
Be mindful of the size of your stones so they don’t slip out of larger fixtures (particularly spiral pendants). Smaller decorative cages are best for smaller stones. Here are some recommendations on both types:
Turn Your Polished Stone into a Keychain
If you have larger stones, you can wrap them with leather or another cord and turn them into a keychain for display on your keys, purse, or anything else you keep with you a lot.
Waxed thread is usually preferable, as it keeps stones in place a little better. You don’t want it to be too sticky, but a lightly waxed cord keeps it from slipping around too much and losing the shape that you made with the cord.
Projects like this are easy to replicate regardless of the shape of your stone. You can use a nylon cord or waxed thread (leather also looks nice), which can be a bit more comfortable than working with wire. (You can easily shorten the cord to work for a keychain.)
Add your favorite findings for a little extra decoration and jingling.
Making Jewelry Out of Sea Glass
If you have some sea glass around, you can easily turn it into beautiful pendants, like this one. (And if you don’t, you can often find manufacturers that recycle glass and make it look similar to the frosted, surf-worn glass you can find at the beach!)
All you need is hemp cord or another cord in the color of your choice. But with how muted sea glass colors tend to be, they look beautiful in pale cotton or hemp cord. The mini Japanese boat floats from this tutorial make cute necklaces or nice additions to bracelets with ocean-themed charms.

Additional Resources
I’ve included some beginner to intermediate books on DIY tumbled stone jewelry so you can explore more projects:
Know a friend who would love to start this hobby with you? Share it with them!
You might also enjoy our guides on sea glass hunting and rock tumbling if you like finding your own pieces to use in your tumbled stone jewelry.
Share this on Pinterest:


