If you’re new to food photography (or photography in general), you’ve probably already come across one glaring problem…
Lighting.
It’s the often-overlooked key to amazing photos.
So how do you make sure your food photography lighting is on point, and what equipment do you need?
Keep reading and we’ll get into everything you need to get started.
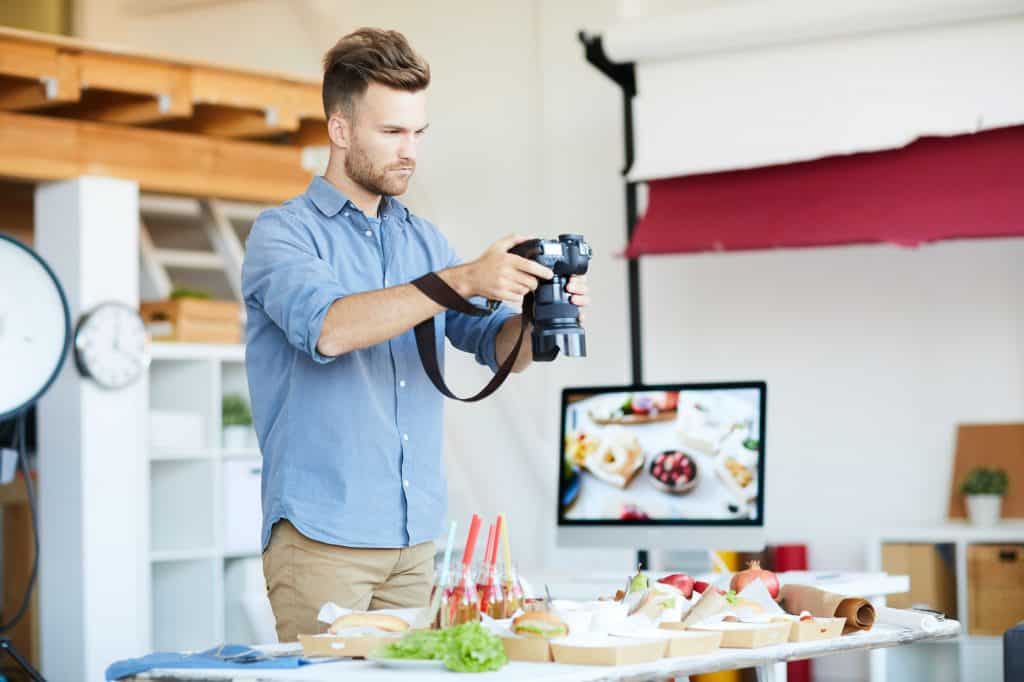
What Makes “Good” Food Photography Lighting?
First off, it’s important to understand how to get good lighting.
While most photographers stress the importance of natural lighting, I think that’s a little overrated.
In the middle of winter when the sunlight is fickle and may only show up a few minutes at a time, I don’t have time to wait, only to have it disappear on the middle of a shoot.
I also might find myself shooting at 2 AM when there’s no natural light.
Good lighting can be a number of different things, but for food, you want just about any light that doesn’t create harsh shadows.
For certain foods, you’ll want a light source that’s a little higher up rather than level with your subject. This can make certain foods look more appetizing, especially “shiny” things like glistening olives, juicy berries that have just been washed, or oils used as dressing or dip.
For other shots, back or side lighting level with the object may be appropriate. When you want to capture details, you want a soft light that’s very close to the object, so as to create softer shadows that blend a bit better.
If you don’t have good natural lighting (many of us don’t!) you can get relatively cheap equipment to help improve the lighting of your photos.
First, a Light
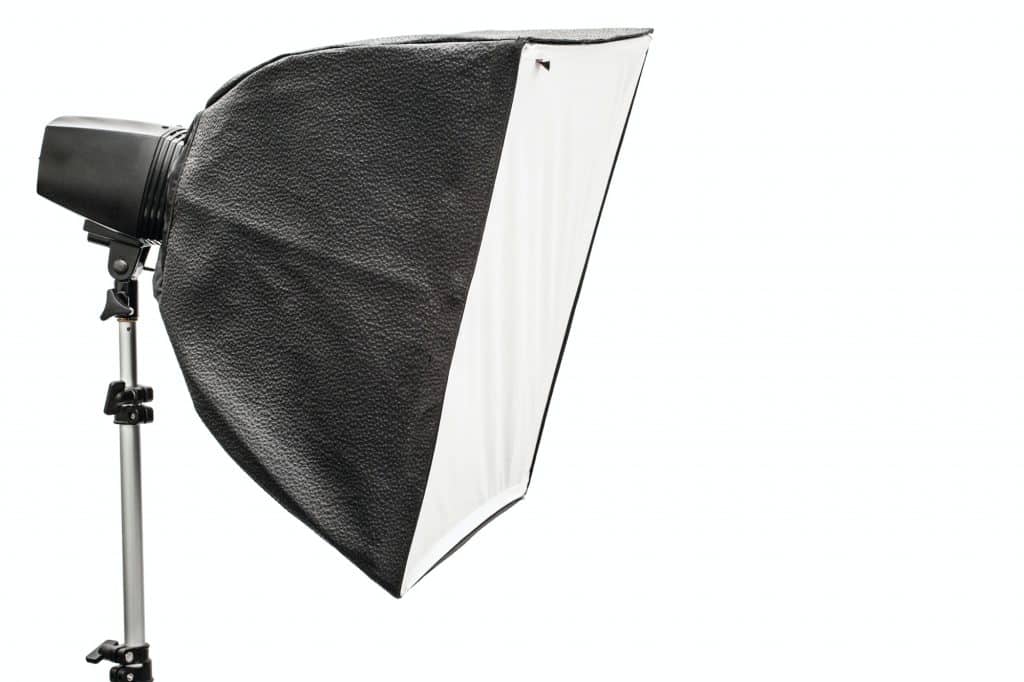
The best lighting for food photography is going to be softbox lights.
While they’re not quite as convenient to set up, take down, and store as umbrellas, they’re the best option for lighting situations where you want more control over the light source.
Umbrellas mimic natural outdoor lighting, while softboxes mimic directional lighting. Picture sunlight filtering through a window. Unlike umbrella lights, which scatter light, softboxes offer more controlled, directional light.
Umbrella lights are a great option if you don’t have a lot of room. Compared to softboxes, they’re not as bulky. And while they don’t give you the same focused, directional light, if you don’t have the room for softboxes, this is your next best option.
Umbrellas can diffuse light or reflect it. In almost all cases, you’ll be diffusing it unless you also have some natural light to work with.
Here are some recommendations on affordable lighting to get you started.
Diffusers
If you’re using an umbrella or a softbox, you already have your diffuser.
However, if you’re working with a lamp or other type of lighting that doesn’t already come with a diffuser, you’ll need something to put between your light and the subject.
Properly diffused light is the key to great lighting. We talked earlier about how you want soft lighting (and thus soft shadows)—diffusers are the way to get it.
You can get them by themselves or in a kit with reflectors, which we’ll talk about below.
Light Reflectors
If you don’t have enough natural lighting, a reflector can help soften shadows even more, without adding too much light.
The most common reflectors are white, silver, and gold reflectors.
White filters reflect some light, softening shadows while only reflecting a little light. Silver reflectors reflect a lot of light without changing the color and can brighten highlights and make shiny objects stand out a bit more.
Gold reflectors add some warmth to the subject and are great for helping mimic the warm, late afternoon light of the sun. But unless you’re specifically going for a photo with warmer tones, I generally recommend sticking to just a white or silver reflector.
In filter kits, you’ll also often see a screen for negative fill, which reduces the light from reflections. So if you’re shooting in a kitchen with lots of reflective surfaces, this might come in handy.
It’s also good for photos where you want to go for darker/moody lighting. (You’ll often see these used in shoots for desserts, particularly if there’s a focus on chocolate.)
For a reflector setup, you’ll want a couple of stands and a reflector/diffuser kit. If you’re not using a diffuser separately, you’ll only need one stand.
Here are some recommendations on good diffuser/reflector kits with a range of options:
Setting Up Your Lighting and Reflectors
There are a few setups you can use with your lighting and reflectors.
My favorite way to set up is with a collapsible table, t-stand, and PVC backdrop. Tables and stands are easy to set up and tear down. PVC backdrops are a food photographer’s best friend—you don’t have to worry about spilling things, as you can just wipe it off afterward.
The first and most common lighting setup is side lighting, with a reflector across from it, slightly angled up. If you want a lot of light reflected so the shadows are very light use a silver reflector.
For a more dramatic effect, you can use backlighting and put a reflector directly at the front. This is a little trickier to get to look good and can make food look overly greasy if you’re not careful.
Some photographers prefer a double reflector setup with two reflectors in front, one on the right and one on the left. It should form a triangle with your lighting at the back. This is great for getting as few shadows as possible and getting the light in your shot to look soft and very bright.
Further Reading
Once you have lighting down, getting great-looking photographs is easy! Getting good lighting is honestly one of the hardest things to nail when it comes to food photography.
Here are some great resources on lighting and other aspects of food photography one you’re ready to dive in and improve your photography:
Read more on photography in our photography equipment guide and share with a friend who would love to join you!

