Mesmerizing shots of the night sky, stars, planets, and galaxies are almost hard to believe because we can’t spot these scenes with the naked eye. But, with a good telescope and camera lens, we can expand our vision beyond these limits and see what’s out there from our home’s comfort. Whether you’re fascinated by those star trails or want to capture the next supermoon yourself, learning astrophotography is a smart step, and getting an is a great place to start. It’s time to start your journey with astrophotography for beginners.
Once you master the art of clicking beautiful shots, you’ll love how engaging and rewarding this hobby feels. No worries if you’re a novice with astrophotography because this quick guide is here to the rescue. If you want to hone astrophotography from your home’s comfort, stick around and let us help!

The many interesting types of Astrophotography
Understanding its basics is important before you enter this whole new world of galaxies and stars because astrophotography for beginners is often tricky. Some novice photographers confuse night photography with actual astrophotography and keep driving in the wrong direction. If you want to take this hobby to the next level, a detailed will help you. But to save you from that hassle, here’s a list of astrophotography types we have compiled:
Wide-Field Astrophotography
When you use a point of view on earth to capture a broad shot of the sky, it’s called wide-field astrophotography. This shot can be a tree in the foreground, a house, or different landscape features. Since full-fledged astrophotography for beginners is tough, this type is a good start for them.
Solar System Astrophotography
When you capture the solar system with an astrophotography telescope and camera lenses, it’s known as solar system astrophotography. Getting the hang of solar system astrophotography is also relatively easier.
Milky-Way Astrophotography
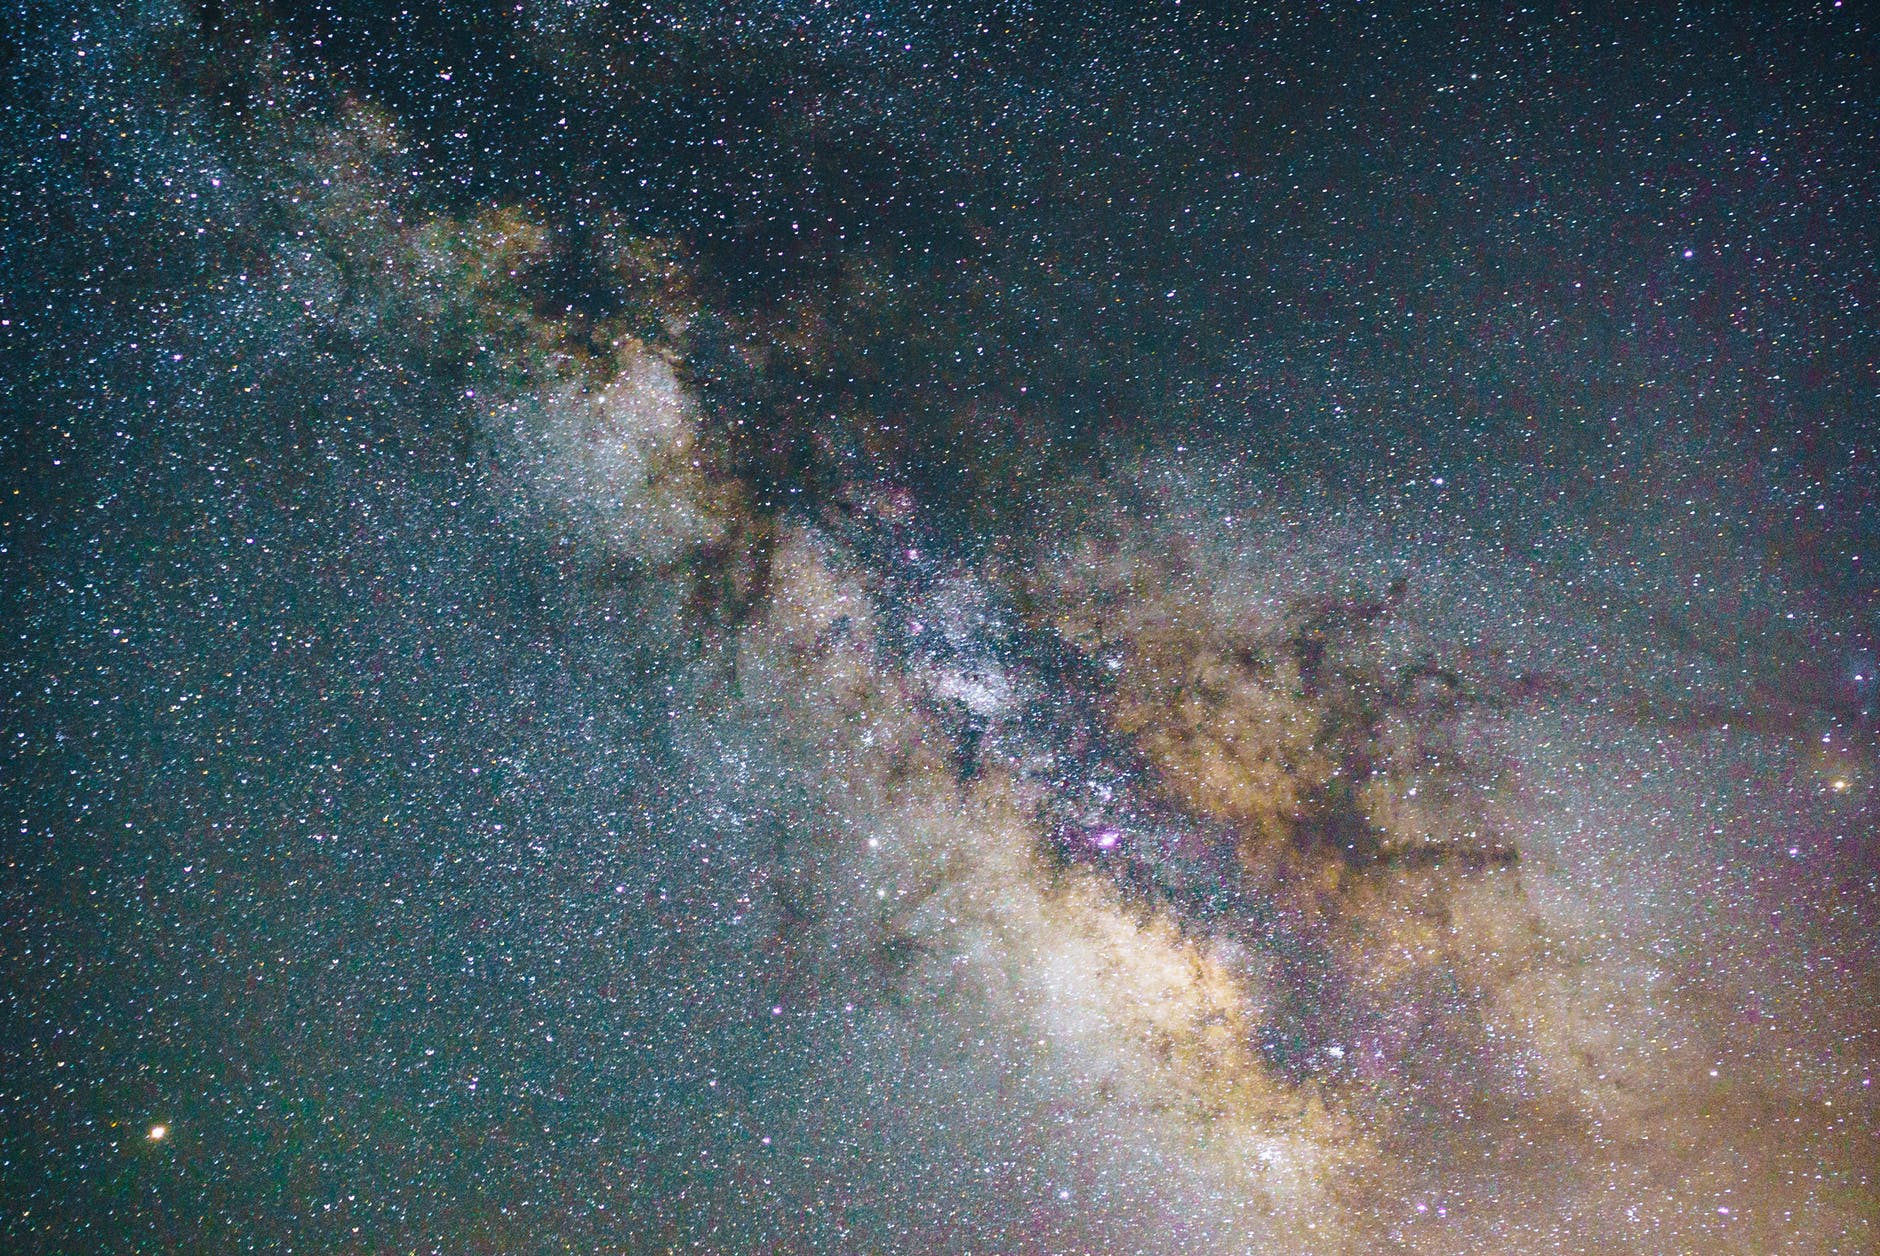
If you want to click galaxies and celestial bodies beyond the solar system, you have to practice milky-way astrophotography. Since spotting the galaxies from polluted cities is difficult, you’ll have to pick secluded and elevated points to capture these beauties.
Deep Space Astrophotography
Taking pictures of objects beyond the solar system is called deep space astrophotography. This type usually involves high-end equipment like an astrophotography telescope and wide aperture lenses.

Equipment Needed for Astrophotography
Now that you know the basics of astrophotography for beginners let’s find out the equipment you need for adopting and mastering this hobby.
Camera
Let’s start with the obvious: a good camera can make all the difference in your astrophotography skills. Whether you’re new to this hobby or you already play with lenses and angles, having a good camera is essential. Although having a DSLR is good, you can also use your smartphone if it works well in low-light conditions. Since the essence of astrophotography lies in color differentiation and picture clarity, a high-end camera will give you a good start.
Lenses
Cannot manage a new camera for astrophotography? No worries because you can use the old one by upgrading it. You’ll need a wide aperture lens for astrophotography because those shots of the sky and stars will cover plenty of area. If you can get your hands on a good lens besides the astrophotography telescope, that’s best.
Telescope
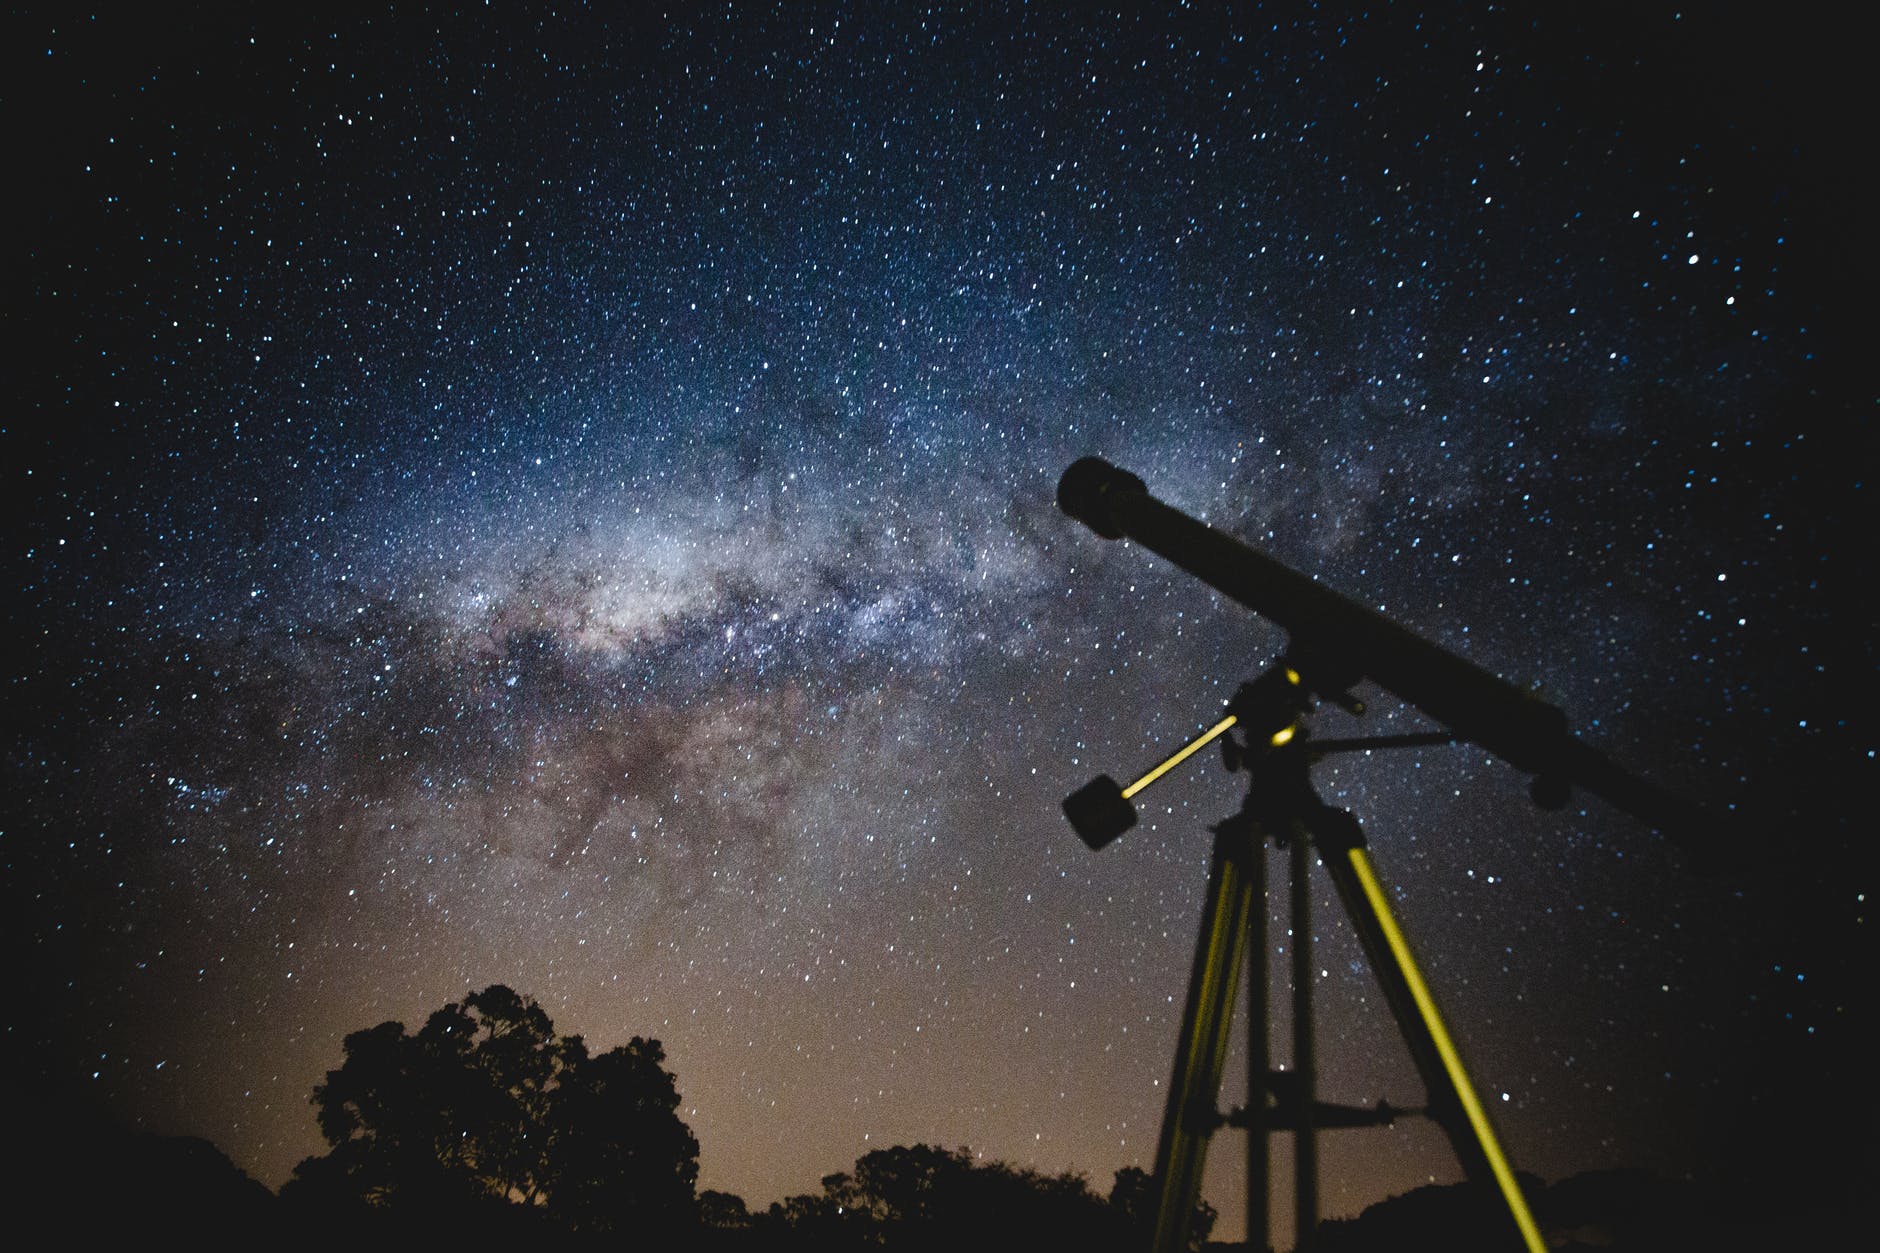
Once you have enough expertise in clicking clear pictures, looking beyond the solar system and star trails should be your next target. And for that, you need a high-end astrophotography telescope. Sure, astrophotography for beginners doesn’t require a telescope, but if you want to capture shots with a “wow” factor, investing in an astrophotography telescope is wise. Having a means you can set it anywhere to observe the sky and practice astrophotography; no struggle of hauling the heavy equipment.
Tripod/Mount
Imagine setting your to capture the supermoon or a meteor shower but getting blurry shots. Such a turnoff, no? This happens when you don’t have a sturdy tripod or telescope mount. Therefore, getting a good tripod would work best for your astrophotography passion. If you have a bulky astrophotography telescope, the tripod is a must-have piece of equipment.
Practice Astrophotography at Home
Now that you know the fundamental things you need to start astrophotography, it’s time to practice this skill at home and get better at it with time. Here’s how you can get better at astrophotography:
Step 1: Mount your Telescope on the Tripod
If you’ll start learning astrophotography from your balcony or rooftop, set your tripod there. It’s better to place the astrophotography telescope indoors initially because it’ll take some practice before you get the hang of it. Mount your telescope on the tripod, adjust your camera/mobile in front of it and decide where you will sit or stand to observe the celestial bodies.
Step 2: Lock the Frame
Are you starting with wide-field astrophotography, or capturing the milky-way galaxy is your priority? The answer to this question will determine your capturing frame. Since astrophotography for beginners is more about focusing, you should pick a clear and broad frame. The viewpoint for your first-ever astrophotography click can be a tree or any landscape feature that works as the anchor point for your shot.
Step 3: Adjust the Camera
When you’re happy with the shot, adjust your astrophotography telescope and camera to capture it. Using a camera’s manual mode is better because it gives you more freedom to adjust the ISO, low-light settings, and frame width. Make sure the camera is mounted on a steady surface and its lens is clean because even minute objects on the glass (like dirt particles) can ruin an astrophotography shot’s quality.
Step 4: Click the Image
It’s time to press the big button! Once you have checked the camera’s focus, angle, and lighting, press its shutter. Check the resulting shot to know how you did there. Remember, astrophotography for beginners is quite tricky because it takes practice and patience before you master this skill, so even if the first few shots come out blurry, that’s okay. Your astrophotography telescope is there, and the camera is in your hands; you can always take more photos.
Step 5: Re-Do it
The first few astrophotography clicks might come out disrupted and shaky because controlling the big frame is quite challenging. But if other things, like the camera’s light and angle, are okay, keep taking more pictures. If you want to focus on a celestial body, zoom in on it to remove the surrounding objects and once your focus is clear, click it. After learning the basics, you can practice deep space astrophotography or click spectacular images of the solar system with the same equipment.
Step 6: Post-Process the Shots
Since astrophotography is a sought-after skill, you can turn it into a career by practicing more and more. Once your astrophotography shots attain your desired level of precision and clarity, post-process them. Tools like Photoshop, Lightroom, and Aperture allow you to further beautify your starry shots and use them however you want. From uploading these shots on stock sites to framing them for your home, you can do a lot through your astrophotography hobby.
Summing Up Astrophotography For Beginners
Once you learn astrophotography, the sky is the limit (quite literally too) because now your camera records things we can’t see with the naked eye. From recording spellbinding meteor showers to photographing the next supermoon, astrophotography enables you to do a lot of cool stuff. No worries if you’re new to astrophotography because you can get better at this skill by practicing.
So, the next time you go on a road trip, keep your astrophotography telescope with you and stop at the most scenic points for stargazing and astrophotography. There’s a lot of beauty worth exploring above us, don’t miss out.
If you’re looking for more hobbies to get started with, try out the exciting world of slacklining!


