Curious about making your own bath products? DIY bath and body products are a great way to save a little cash on things like scrubs, lip balm, body butter, and other products that can get a little expensive if you buy them regularly.
They also make great gifts for friends and family! They’ll appreciate having an assortment of spa products for the holidays (or birthdays) if you’re looking for something inexpensive, unique, and thoughtful.
Below we’ll cover everything you need to know about DIY bath products for gifts or personal use.
Equipment You’ll Need
While using your regular kitchen equipment for bath and body products is generally regarded as safe, I still use a separate set of tools. Most of the ingredients used in DIY bath and body products are things that you would put in your food on a semi-regular basis. (Think cooking oils, sugar, salt, etc.)
I also recommend going the stainless steel route, as it makes cleanup much easier! I use a separate hand mixer for bath and body products that I sell at craft fairs. It’s not necessary, but you don’t have to sterilize as frequently or thoroughly. (Though, it’s good to get in the habit of sterilizing your equipment, anyway!)

Commonly Used Ingredients
There are a handful of ingredients you’ll find in almost all DIY bath and body products—sugar or salt, oil or butter, fragrance or essential oil, and wax. Keep these things on hand and you’ll be able to make a wide variety of bath products.
Sugar can be less abrasive than salt in things like scrubs. While salt scrubs are great for your feet and rougher parts on your body that need a bit more exfoliation. Sugar is a lot more soluble and is softer on the face. Most facial scrubs are made using sugar as an exfoliant.
Oils can be a little tricky to work with until you find ratios that work for you. If you live in an area with colder weather, for instance, you might have to add something like olive oil to recipes that call for coconut oil to keep your product from solidifying. Alternatively, if you live in a hot area, you’ll want to add more coconut oil and other more solid oils/butter to keep your product from melting. Waxes also help products hold up to heat.
Lastly, fragrance and essential oils. You’ll almost always want to use essential oils in DIY bath and body products. Add them after your products have cooled for a pleasant scent! (You don’t want them around any kind of heat.)
Pros and Cons of DIY Bath and Body Products
The advantages of DIY bath and body products are many—but there are a few limitations on what you can easily make in the kitchen without a lot of time and effort.
On the plus side, you know exactly what’s going into your products. You can use simple ingredients without tons of additives that may cause you to break out. It also allows you to adjust to your skin type and use appropriate oils, whether it’s thinner oils like jojoba or almond oil, or thicker oils like olive oil. It’s also much more affordable than buying things like sugar scrubs and body butter and often just as effective!
Limitations start to kick in when you branch out into water-based products. Once you introduce water to anything, it turns into a hotbed for mold and bacteria. Then you have to start researching and testing preservatives, which can be really time-consuming. For the purpose of this article, we’re sticking to oil-based products, which are much easier to start out making!

DIY Bath Products for Gifts and Personal Use
The recipes below are meant to be made in smaller batches to give away or to use for yourself. They usually stay good for 3-6 months and often require a preservative system if you want them to last longer (especially if you want to sell them). While water-free products don’t attract bacteria/mold, using them in the shower heightens the chances of getting water in them.
We’ll talk about how to use and store your products for the longest shelf life towards the end of this post.
Bath Salts
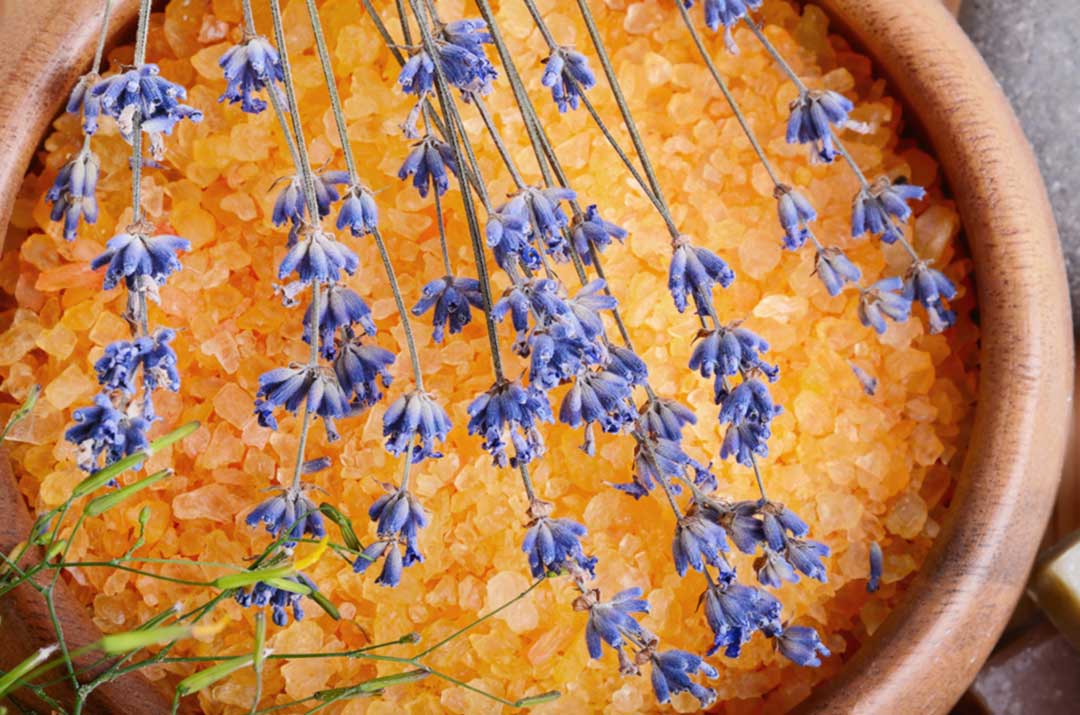
Bath salts are super easy to make and you don’t have to worry much about shelf life. If you’re giving them away as gifts, you can also color them with mica powder. Darker colors have to be cleaned out of the tub afterward, but lighter coloring looks lovely and makes for easy cleanup.
Ingredients:
- 2 cups of bath salts
- 10-20 drops of essential oil
- ¼ tsp of mica powder (optional)
- Rubbing/first-aid alcohol (if coloring with mica)
Instructions:
Put 2 cups of Epsom or Sea Salt in a large mixing bowl.
Spray the top with alcohol, then sprinkle mica powder and mix. (Preferably using gloves!) The alcohol helps the color stick to the salt, but evaporates and leaves the color behind. Repeat until your salt is thoroughly colored.
Evenly distribute 10-20 drops of your favorite essential oil blend.
Sugar Scrubs
Sugar scrubs are another easy-to-make product that’s even more versatile. You can add things like oats, coffee, spices, and other things to your scrubs using the below recipe as a base. In general, try to stick to 1 part oil to 2 parts water.
Ingredients:
- 1 cup of sugar (regular granulated sugar is fine)
- ½ cup of coconut oil
- 1 tbsp of jojoba oil
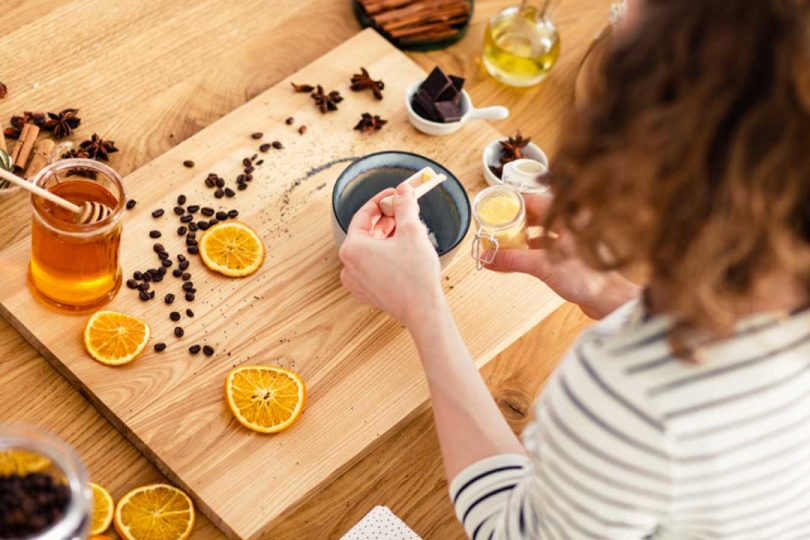
From here, you can modify your scrub a bit. If you find regular sugar to be a bit too rough on your skin, brown sugar is a bit gentler and makes a good substitute. While things like coffee are more typical of lip scrubs, you can put them in a facial/body scrub, too! Just swap a half cup of sugar for a half cup of coffee.
(You can color these with mica powder as well if you’re looking to add a bit of visual appeal to your DIY bath products for gifts!)
Aftershave
Last, but certainly not least—aftershave. This can be as easy or as complicated to make as you want it to be!
My favorite aftershaves to make are ones with a nice earthy/spicy smell. Things like patchouli, bergamot, vetiver, rosemary, and peppermint all really shine in aftershaves.
Ingredients:
- ¾ cup witch hazel
- 1 tbsp of vegetable glycerin
60 drops essential oil of your choosing (This is where you can play around with blends—I usually do something like 30 drops of patchouli, 20 of vetiver, and 10 of bergamot or something with rosemary, peppermint, and lemon.)

Safely Storing Your Products
In order to extend the shelf-life of your bath products, there are really only two things to keep in mind. Store in a cool, dark place and keep water out of your products!
This is usually just a problem with scrubs, which many people use in the shower. Rather than putting it on in the shower, rinse your face with a little bit of water, pat it somewhat dry, then apply your scrub and get in the shower. You can finish exfoliating in the bath/shower and leave your product in a place where you don’t risk getting water in it.
For products with essential oils, keep them away from heat and sunlight. Stored properly, your DIY bath and body products should last 3-6 months. I usually print some tags with instructions and tips for storage if I’m giving them away as gifts.
Looking for more DIY and gift ideas? Check out our guides on cold brewing tea and kombucha brewing. These make great gifts for friends and family around the holidays, especially if you’re on a budget. If they’re also a DIY fan, think about putting together a kit for them instead!


Great insructions for beginners!
I work with teens and your instructions are easy to understand!
Thank you!