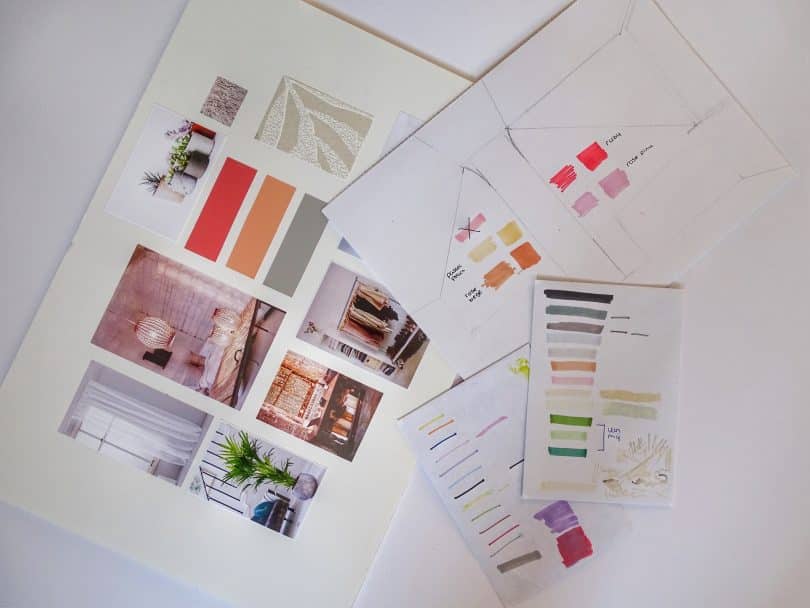
The first step in any interior design project should be creating a mood board. While it might seem like a simple task, a useful interior design mood board needs lots of planning.
In this article, we’ll discuss how to make an interior design mood board and why it’s so important.

With recent updates in 2022, we recommend Canva as a super easy option to design mood boards. It comes with thousands of templates to get ideas from, including a mood board collage template.
Why is a Mood Board Important?
An interior design mood board is a visual plan of your project. It’s where you collect your thoughts and ideas into a clear vision.
For this reason, it’s vital to put thought into its construction and information. While it doesn’t need to be a representation of the final room, its overall vibe should clearly reflect your end goal.
But what should it include?
- Color scheme
- Pattern inspiration
- Furniture ideas
- Ideas for accessories
- Lighting
- Texture ideas
It’s worth noting that the images you use don’t have to appear in the final room. As a collage, an interior design mood board is more about inspiration than anything else.
For example, if you see a pattern on some dinnerware that would be perfect for your living room plan, still include it. You won’t have plates in your living room, of course, but it acts as inspiration to include elsewhere.
A mood board is necessary for a clear and defined vision of the coming interior design project. It should concise enough for you to show others so they can get an idea of your end goal.
This is particularly important when working for clients and with contractors. But it also helps you to solidify disparate thoughts into a final plan.
How to Make an Interior Design Mood Board
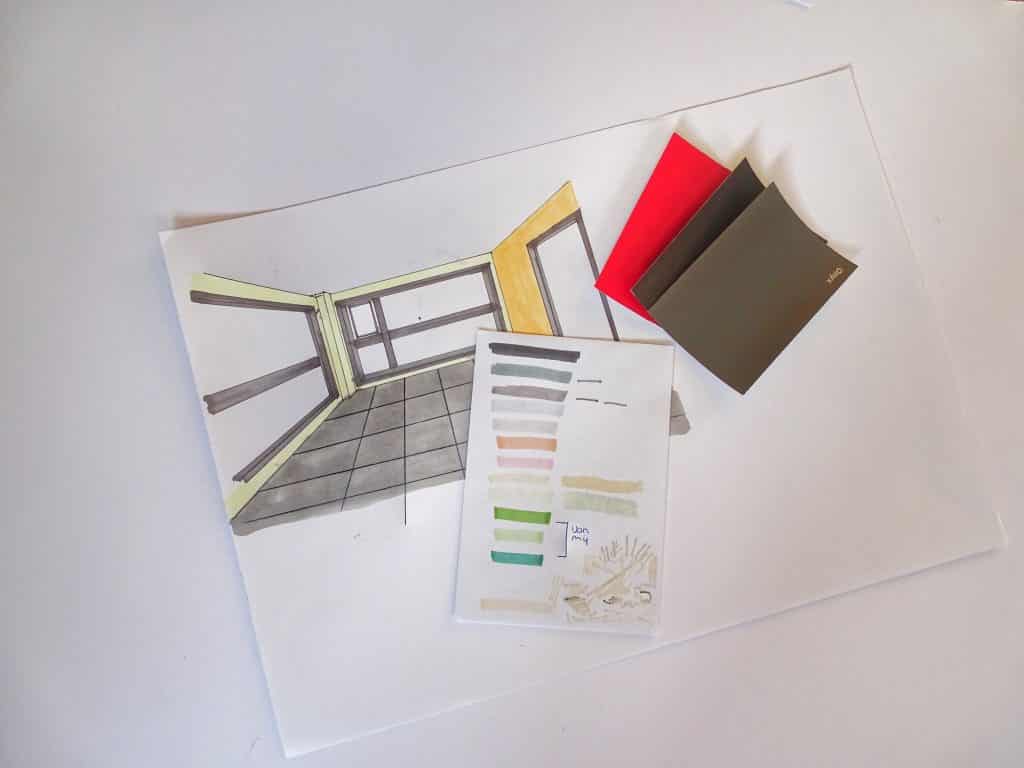
The options for making a mood board are almost limitless. But, there are always some important initial steps. Whether you choose to make a physical mood board or use an app, the process is more or less the same.
Here are the steps involved in making an interior design mood board.
Step 1: Inspiration
The first (and possibly most important) step is to find some inspiration. This is different from research because you won’t necessarily have a clear direction at this point.
Where you go for inspiration is entirely up to you. It could be magazines, the internet, your favorite buildings, nature, or somewhere else.
Just take in the world around you and wait until something clicks. You don’t need any experience in interior design or art for this.
Many people find their early inspiration in a piece of fabric, a wall color, or a particular pattern or texture. Building your design plan around something like this is much easier than you think.
Step 2: Research
Once you have your spark, you can begin researching. A site like Pinterest is perfect for this stage because it’s basically one big mood board.
Begin searching with general terms like “blue living room” or “pink kitchen”. Refine your search by adding style terms like “shabby chic” or “modern”. Someone has likely created a space that perfectly matches your idea.
During your research, it’s worth thinking practically about the room you plan to decorate. When making an interior design mood board, you include things like furniture and accessories. But even things like color and style can be impacted by the room’s purpose.
For example, a living room might benefit more from warm, light colors than darker ones. Similarly, a kitchen might benefit from colors that stay looking clean. Of course, this isn’t a hard and fast rule, but never forget the room’s function.
Step 3: Begin assembly
There’s no limit on how much research you should do. But, as you do it, ideas will begin to solidify. You’ll know when you have a clear enough idea to begin building your mood board.
The best place to start is with your base color, as this will be the largest area in your room. It’ll most likely be the wall color, but it could be the floor if you’re using wallpaper on the walls.
Next, start gathering your materials. For a physical mood board, try and find:
- Fabric swatches (for curtains, furniture, cushions, etc.)
- Carpet sample or hard floor sample
- Inspiring images
- Examples of accessories
Don’t worry if you think you have too much right now. Editing is an important step before sticking everything on the board. This stage is about collecting your base materials.
Step 4: Add contrast
So, once you have your base color and materials, consider how you could add contrast.
The easiest way to do this is with an accent color. We’ve mentioned it before, but color theory is vital for this.
It could be a contrasting color that adds drama or a slightly different tone of your base color.
For example, you’ve chosen pea green as the base color for your bedroom. A great contrasting color would be fuchsia, as both are bold, vibrant colors. Alternatively, a less dramatic accent would be forest green, as this is simply a darker tone.
Step 5: Edit
Editing is vital for any creative process, particularly one with lots of variables like an interior design mood board.
Take all your materials and arrange them into common groups. This could be shared colors, patterns or textures.
It’s important to be as critical as possible at this stage. You might love everything (after all, you chose it) but that doesn’t mean it all works together.
Consider grouping materials by theme (for example, boho or shabby chic). If you’ve got a clear idea of what this theme includes, you’ll know when things don’t fit.
It’s worth throwing things together in different groups, as this will help you decide what works and what doesn’t. An interior design mood board is a collage, after all, and there’s no harm in mixing things up.
Once you have a clear group of materials that work together, you have a mood board!
Conclusion
Making an interior design mood board is a fun process. Sparking creativity is enjoyable, but critically editing can be very difficult to begin with. Consider making some exercise mood boards to practice this before launching into your real project.

