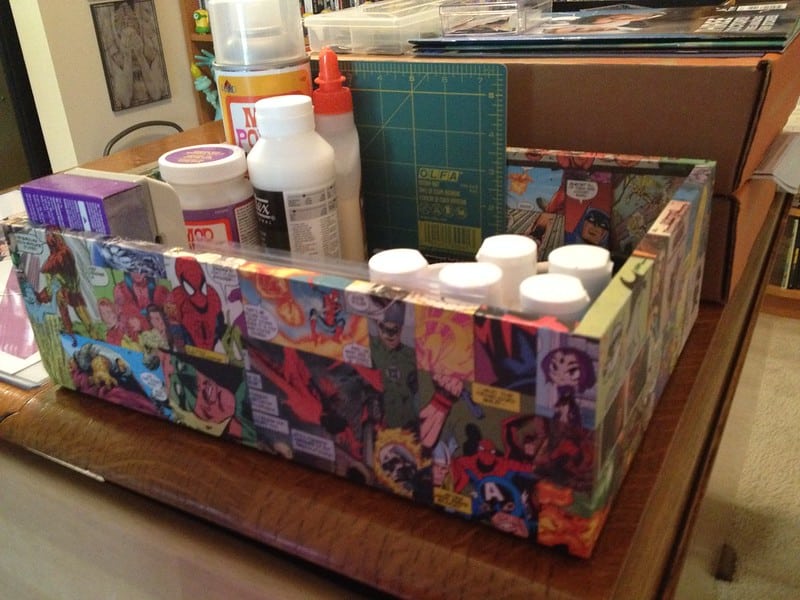
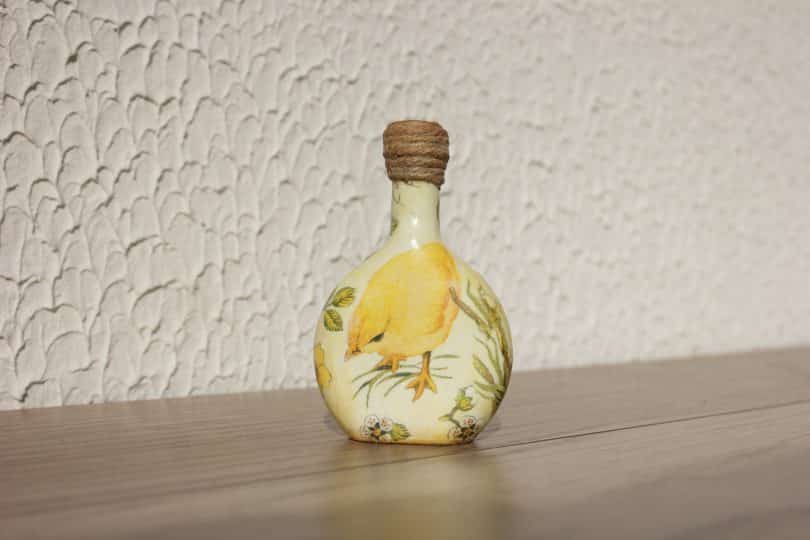
Hobbies and creative activities not only offer you an entertaining time but also boost creativity and imagination. You learn new things, experiment with different things, and find ways to deal with all types of challenges.
Another amazing thing about a hobby is that it helps improve the appearance of your personal space. Decoupage is an ideal activity that offers all these benefits. Wondering how to decoupage? If yes, read further to learn simple and quick steps to create gorgeous and attractive decoration pieces for your home.
How to Decoupage?
Decoupage is one of the hobbies that help you decorate your space. Decoupage items can improve the ambiance and feel of your space, enhancing the look and mood of any room. So, how to decoupage? Here are some steps to follow to improve the appeal and feel of any object in your home.
Step #1: Choose a Surface
You can choose any object you want to decoupage. Almost every surface is suitable for this amazing craft. However, it’s better to test the surface you are considering by working on a small area first. This will ensure that Mod Podge will stick to the object.
To get a more refined and clean look at the end, you can paint the surface with . In fact, it’s important to opt for the right basecoat if your object is unfinished. And yes, you can choose any color you want.
Step #2: Bring Your Mod Podge
Mod Podge is one of the essential elements for these art and craft activities. It helps you strongly stick the material to any surface. This will ensure that the paper or other materials you stick on the surface do not peel. Make sure to choose top-notch Mod Podge to get the best results.
Step #3: Prepare the Object
Before starting your work, here are a few things that you need to do based on the surface you have chosen.
Paper
If you choose scrapbook paper and thicker , there is no need for preparation. But with thinner sheets, like inkjet printouts or scrapbook paper, it’s best to apply clear acrylic sealer on your papers before decoupaging. Spray the acrylic sealer to each side and keep it in the corner to dry.
Fabric
In this case, wash and dry the desired fabric. If your fabric develops crinkles, you can also iron it. Another thing you can do to make the process easy is to apply a thin layer of Mod Podge to your fabric. After that, allow your fabric to dry.
will make your fabric hard, making it easy to cut when needed. Also, place wax paper underneath the fabric to protect your workstation.
Tissue Paper
There is no specific thing that you can do with tissue papers. But keep in mind that it will be challenging to avoid wrinkles. This is because are too thin, light, and sensitive. Fortunately, even if you get wrinkles, it will provide a charm and appealing feel to your art piece. Just try to avoid tears while performing the task.
Once you prepare your pieces, cut them in whatever sizes you want. Experiment with different designs to get a unique look. You can use layering to add more definition to your surface. You can also add different colors to complement your space.
Step #4: Stick Things with Mod Podge
When it comes to sticking things with Mod Podge, it’s better to make a plan before starting your work. For instance, if you are planning to create different layers, stick to the underlying design first and then the one that will come above.
Furthermore, apply a sufficient amount of Mod Podge to your chosen item, as too little can cause a wrinkle. You can wipe the extra Mod Podge if you think it’s more than you need. Place the fabric, paper, or tissue, whatever you have chosen, on your object.
Step #5: Smooth Out Your Surface
Pick the and smooth out the surface. Keep doing it until you get a smooth surface without any bubbles.
Let the surface dry for 15 to 20 minutes before proceeding.
Tip for bigger tools: Smoothen the surface by starting from the center and working your way out. This method is perfect for decoupage bigger trays and pots. You can also use a brayer for massive objects, like furniture.
Step #6: Add a Protective Layer of Mod Podge
Now it’s time to apply some more Mod Podge to the upper surface of the item. You can apply as many Mod Podge layers as you want, but at least apply two layers. Also, wait for the item to dry after applying the Mod Podge.
When you are finished with the task, you can add a bit of tackiness by brushing on a sealer on the top. Let it dry, and Ta-da, your beautiful creative pieces are ready.

What Surfaces are the Best for Decoupage?
Since now you know how to decoupage, you should know which is the best surface to work with. Here are some options.
- Cardboard
- Plastic
- Wood or MDF
- Glass
- Ceramic and terracotta
- Metal, aluminum, or tin
What can You Decorate with Decoupage?
You can decorate anything you want. Typically, people opt for:
- Vases, boxes, pots
- Lampshades, lamps
- Frames, mirrors
- Furniture
- Trays, plates, bowls
- Wooden boxes
Bottom Line
Since you know how to decoupage, it will be easier to improve the appearance and feel of your indoor space. Decorate your house with pretty decoupage items that give high-end vibes and a pleasing look. You can use this process for several objects, such as furniture or crockery, to enhance their look and feel. If you want more tips and hacks about different hobbies, you can check Hobbies Start.


