Photography is a fun, flexible hobby that you can take with you just about anywhere. If you want to learn photography, we’ve put together this list of resources and equipment to help you get started. All you need is a camera, good lighting, and photo editing software. The rest of the equipment is helpful but optional in the beginning.
Learn Photography: Photography Basics
There are thousands of guides available online that go into the basics of photography, but none of them quite cover the subject in-depth. (Or at least not enough to give you good working knowledge.) My personal favorite resource is The Photography Bible by Daniel Lezano. I was introduced to this book in my high school photojournalism class, and it has since become my go-to resource when new photographers are looking for a solid starting point.
However, it does primarily cover photography and only briefly touches on editing. I’ve included some additional resources below. The two I most recommend starting out with are The Photography Bible and Adobe Photoshop Lightroom Classic CC Classroom in a Book. Processing photos is often most of the work, especially in the beginning when you’re getting used to learning the right settings for each situation.
Choosing a Camera
While you can go out and take a bunch of shots with your smartphone camera, sometimes starting out with a DSLR can save you a lot of headaches. It largely depends on what you’re using it for and what tradeoffs you’re willing to make.
If you plan to learn photography using a smartphone camera, you’ll have to make up for it with decent time investment. You’ll spend much more time editing your photos to make them look how you want, whereas you’ll spend significantly less time editing photos taken with a DSLR. That’s not to say you shouldn’t work with a smartphone camera—you can get some great photos with your phone in the right situation!
The biggest advantage of getting a DSLR camera is that you’ll have an easier time upgrading later on. While the initial cost is higher, you’ll save yourself from having to buy a camera that can support a wide variety of lenses. If you go with one of the big names—Nikon or Canon—you’ll have tons of lenses that are compatible with your camera without having to spend much time looking.
It might sound a little scary to go and drop a couple thousand on a good camera. The good news is that you can pick up something like a Nikon D5300 for less than $500 and a couple of good lenses for another $200-400. I personally still primarily use my D5300 for most things—it’s small, lightweight, and works with all but one of my lenses. I think I spent about $900 on my starting setup, including a camera, a few lenses, and some backdrops, lighting, and other accessories. But even that’s on the higher end of what you need to start out with.
If you’re just wanting to get a feel for photography, you can absolutely start with your phone. If you decide you like it, you can always go out and upgrade to a DSLR later. Just don’t make the mistake of sinking money into a camera that’s only marginally better than your phone and can’t be upgraded. Here are some of my recommendations on cameras.
I still prefer my D5300 for a lot of things, but can comfortably say Canon probably has better equipment due to some “quality of life” issues with Nikons, like grip, color accuracy on the live feed, and the ease of changing settings. While I default to Nikon, if I had to spend an entire day with a camera, it would probably be a Canon. (I won’t go into detail on my Nikon vs Canon talk, but it’s important to research the company you’re buying from. It really comes down to personal preference, as they both put out great products that I love for different reasons.)
(Note: When you’re buying a camera, get the body, skip the kit lenses—you’ll be glad you saved some money and went with a better starting lens. Even when I first started, I was so incredibly disappointed with the kit lenses that come with the camera. To this day, I’ve never actually used kit lenses for anything. I’d rather use my phone.)
Recommended Lenses
Before you choose a lens, you’ll want to learn about things like aperture, ISO, and shutter speed, and how they affect your shots. As you learn photography basics and more about how cameras work, you’ll know a little bit about what you want to look for in a lens.
What lenses you wind up getting come down to what you want to do with them. You’ll find zoom lenses are expensive and aren’t incredibly useful unless you absolutely have to have distance (like for macro or wildlife photography) and it’s better to just have a fixed lens for most things.
Until you know what you want to specialize in, I recommend getting a fast lens with a short focal length for general shots. If you want something for portraits, look for a good 85mm. My personal favorite is the Helios 40-2 85mm f/1.5, but it’s not something I’d recommend starting out with if you want something easy to work with. (While it produces beautiful shots with nice, swirling backgrounds, it’s a little clunky to work with. But if you’re willing to put in the work, you won’t find another lens that really compares to it.)
For product photography (and photography in general), a Nikkor 35mm f/1.8 lens is a budget-friendly option with great performance. It can produce soft backgrounds that most sellers like to see in product photos but still puts out sharp images at f/7+.
There are also some very nice wide-angle lenses (also Nikkor) for landscape photography, which I’ve listed below. I personally prefer fixed lenses, especially to start out with, but you can find some budget-friendly lenses with a decent range as well.
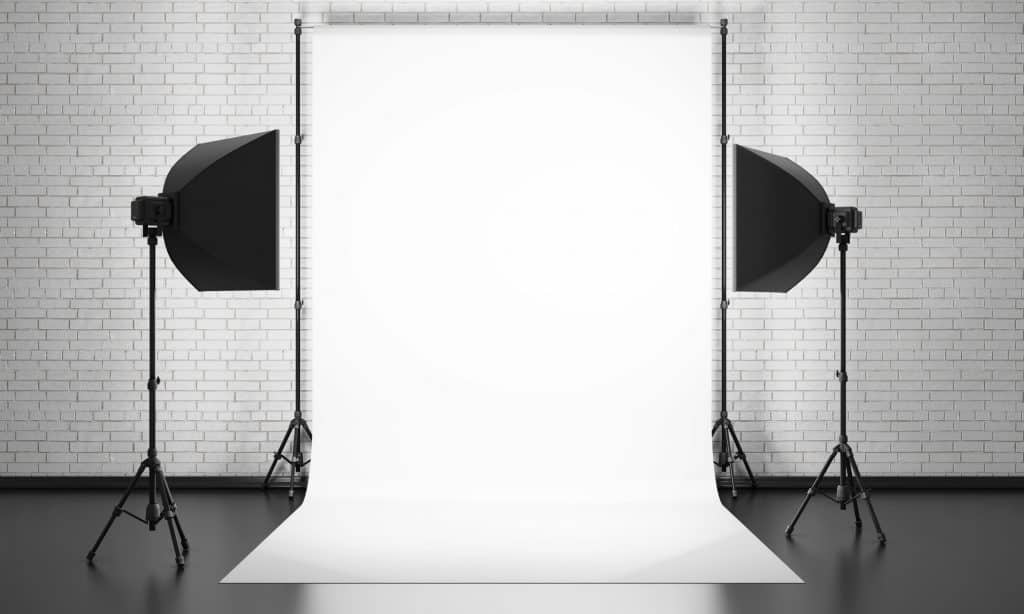
Budget-Friendly Studio Equipment
Studio setups don’t have to be expensive! Backdrops, stands, and lights are all really affordable nowadays. And if it’s space you’re worried about, most things are fairly compact. I can fit both my tripods, two stands, two umbrella lights, two box lights, a tripod, and a bunch of clips and backdrops all in one camera bag. (It’s still pretty light and easy to carry around, too.)
LimoStudio is my go-to for equipment—they have great quality setups for next to nothing. You can get a stand, some backdrops, and a set of lights for just around $150. (And really, even if you’re only shooting with a cell phone camera, if your home or wherever else you’re shooting has terrible lighting, a few cheap umbrella/softbox lights can make all the difference.) You don’t need to go crazy with a big setup—as you learn photography, you’ll find more things you’ll need as you go. Most of the equipment is heavily dependent on what niche you want to go into.
Getting Started
Once you have your equipment and are ready to start shooting, it’s not hard to find a location. You can start in your own home with smaller objects until your comfortable with your camera’s settings. Take pictures of anything and everything—food, cups, salt and pepper shakers, statues, plants, electronics, shoes, whatever happens to be nearby.
Or, if you’re shooting with someone else, you can find interesting backgrounds in everything from parks to grocery stores. (I once did a photoshoot with a friend at the supermarket in front of a giant display of exercise balls that made a really nice colored/blurred background! People might look at you funny, but everyone loved how they turned out.
Taking photos of downtown shopping areas is also nice if you have a good portrait lens that will let you keep your distance. 85mm is my go-to for people pictures—a long enough focal length to make your pictures look cozy, but you can be a decent distance away and feel like you have tons of room. You really have to invade people’s space with 50mm and shorter, so I tend to stay away from those for portraits.
Need more ideas on photos? Look for photographers in your area to connect with. You’ll find groups on sites like Meetup and Facebook for photographers to network and go out for photoshoots and discuss techniques. It often gets overlooked, but networking with more experienced photographers is often one of the best ways to learn photography. Everyone has different tips and a unique perspective, so you’ll get somewhat different advice on things to try out.

