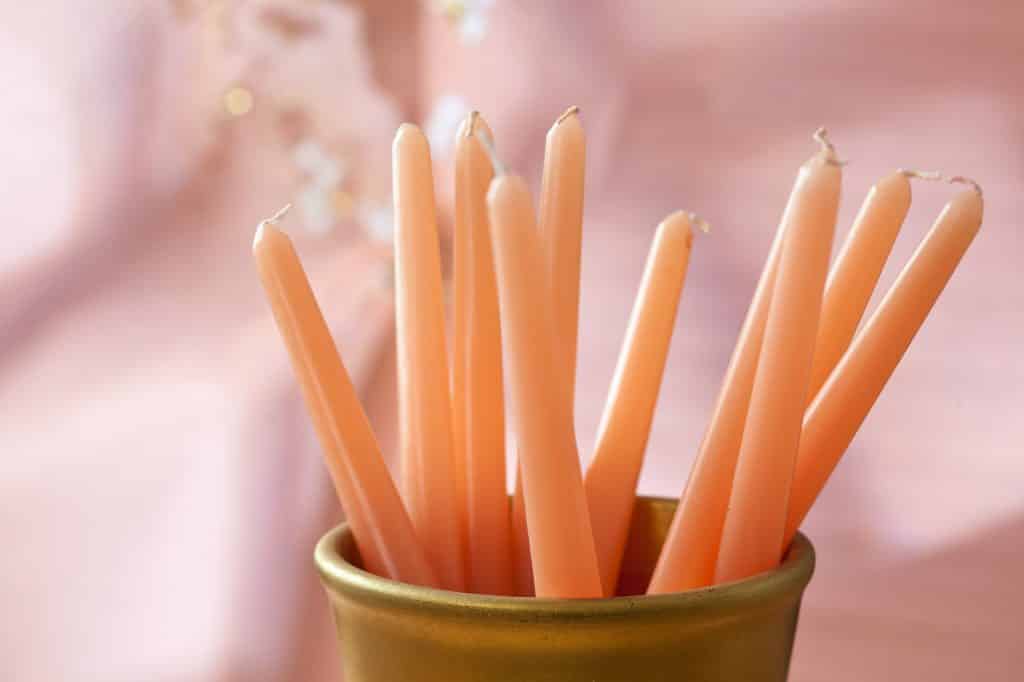
Making taper candles is an art and a science whose production mode has hardly undergone any change since it was discovered centuries ago. But the tools employed in creating this type of candle have evolved, especially those used in industrial production.
If your aim is to craft a few tapers from time to time, getting your hands on a few basic—but efficient—supplies should suffice.
Ready to get started? Jump in with our beginner’s guide to making taper candles.

Taper Candles
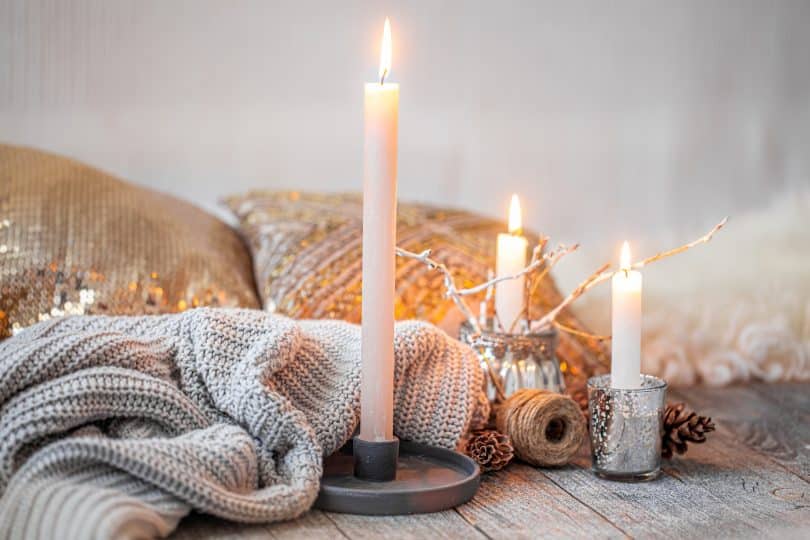
Taper candles are tall and thin candles that usually burn for varied periods, depending primarily on the candle’s height. Taper candles are usually the first to spring to mind when people think of candles.
These candles are accessories that add light, depth, and color to any centerpiece. They are the perfect choice for building out your sought-after dining atmosphere, depending on your chosen colors and placement.
Making Taper Candles via the Dipping Method
There are several ways of making taper candles. Some companies still adopt the traditional way of making tapers—the dipping method. Dipped candles are created by dipping a wick repeatedly into a hot pot of wax. Most candle makers loop extra-long wicks in order to make 2 candles at once.
The most significant advantage of making candles via the dipping method is that it gives you the opportunity to change colors. This results in a highly colorful array of layers in a single candle.
Most well-dipped taper candles are incredibly smooth, though some candle makers deliberately create a lumpy appearance for artistic reasons.
Making Taper Candles in Molds
You can also produce tapers in molds. This method of making taper candles is highly convenient since it allows you to create them in mass. It also allows you to more easily create decorative taper candles with decorations on the outer layer.
Types of Wax to Use
You can make taper candles with different types of wax. The most commonly used wax for making taper candles is paraffin wax. This petroleum by-product does not contain any additive and can be made to be odorless and colorless. Tapers made of paraffin wax are often the most affordable.
However, if you want to deviate from the norm, you can use all-natural beeswax to make your taper candles. Beeswax or beeswax sheets have a golden color obtained from the pollen that bees bring to the hive.
Tapers made of beeswax burn much more cleanly than paraffin wax. They’re relatively affordable, though a bit more expensive than the regular paraffin wax.
Taper candles can also be made of soy wax which usually melts at a far lower temperature than other waxes.
Since soy is a softer type of wax, freestanding candles like taper and pillar candles made with soy don’t always hold up well on their own. At times, an additive like paraffin wax or beeswax can be added to soy wax to enable it to work much more effectively for the candles. Soy wax candles burn for extended periods but can be very expensive.
Choosing a Wick
The wick used in taper candles is highly crucial as it significantly affects precisely how the candle burns. Most tapers come with square braided or flat braided wicks.
Square braided wicks provide a much larger—and more vigorous—flame than their flat-braided counterparts and are the perfect choice for tapers made from beeswax.
On the other hand, flat braided wax is the most popular as they provide a consistent burn. They help in encouraging the flame to curl, thereby allowing the wick to self-trim.
These are the most common wicks used in making taper candles. Other types of wicks include:
- Cored wicks
- HTP wicks
- Hemp wicks
- Wooden wicks
- CD wicks
- Zinc core wicks

Priming Your Wicks
Many candle makers don’t talk about this, but it is vital to prime your wick. Priming your wick makes it easier to light, and it will also burn much more evenly as a result of the wick’s stiffness.
Priming your candle wicks also ensures that your taper candle lasts for an incredibly long time.
But why do you have to prime your wick, you ask?
In many cases, wicks are made of braided cotton threads. These cotton threads are known to trap some amount of air within the wicks.
The first time you light a candle, you may have noticed that it takes a few minutes before the flame reaches the very top of the candle. You may also have seen that it takes even more time for the heat to be sufficient enough to melt and vaporize paraffin that will feed the wick.
Those minutes add up to a long time. On top of this, most industrialized wicks undergo chemical treatments aimed at slowing down their combustion. This means that even before the paraffin wax or beeswax vaporizes to feed the flame, it would die out.
So, priming a wick before use is vital as it allows those trapped air in the cotton braids to escape.
How to Prime Your Wick
You can prime your candle wicks by melting a small amount of wax—using a double boiler—until it reaches up to 70 degrees Celsius. Drop the wick into the melted wax with a spoon. Make sure the wick is completely submerged in the melted wax.
Leave the wick in the melted wax for up to 30 seconds or until you see air bubbles rising to the surface of the melted wax. Then remove the wick from the melted wax carefully and lay it gently on wax paper.
Allow the wet wick to dry completely, which may take up to 30 minutes. Prime the wick again a second time. This is not always necessary, but it yields much better results.
You can also prime your wick in colored wax as there is no rule anywhere stating that your wick should remain white.
Essential Supplies for Making Taper Candles
The following supplies are required for making taper candles:
- Wax melting kit (This comprises an inexpensive double boiler setup that can prevent wax from reaching incredibly high temperatures. Stir sticks and a thermometer should be included).
- Wick (this depends primarily on the wax formula as well as the diameter of the finished taper candles. Try 1/0 square for beeswax and 21-ply for paraffin for standard 7/8-inch taper candles).
- 136 degrees Fahrenheit – 141 degrees Fahrenheit, depending on the type of wax. It is highly recommended that you stick to a medium melt point when making taper candles. Bayberry wax is another excellent option as it has a melting point of 116 degrees Fahrenheit.
- Dipping ring (This is a unit that allows you to dip as much as 10 taper candles at a time, up to 16 inches tall). It is typically used with a dipping vat, which is recommended below.
- Scales
- Wick holders
- Heat sources
- Gloves
- Potholders
Experts recommend that you get the following supplies as well:
- Dye
- Dipping vat
- Additives
They may be useful when you have become a pro at making taper candles and need to make more of them at once.
Looking for a full list of our recommendations for candle making equipment? Check this post out.

Conclusion
Making taper candles can be very exciting, especially if you get your hands on an excellent beginner’s kit as well as the right supplies and ingredients.
Get used to the different types of wax you can use for making taper candles. You may even be creative and mix one or two types of wax to see the result. You could end up with a custom wax that burns longer without polluting the atmosphere in any way.
Take note that not all wicks or even waxes work for each kind of candle. We recommend the best types of waxes for different projects in this article. Candle-making is an entire trial and error process until you create your own formula or method of doing things.
You can follow any of the suggested methods or the process that appeals to you the most.
Make sure you practice with small amounts of wax, wicks, etc. This helps to minimize waste as much as possible until you’re comfortable enough with making tapers to start selling them.


This is a great how to….want to improve my game with candle making and this really helps !! Nicely written !
Thanks !