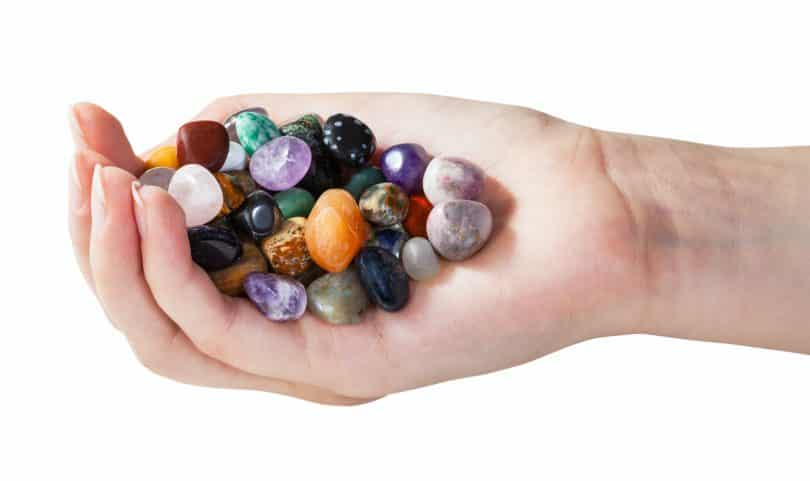
Rock tumbling is a great hobby for people who want to use stones in jewelry, decorations, or just want to appreciate how pretty they look!
I’ve taken an interest in everything stones, minerals, fossils, and gems from a young age. While I never quite had a proper tumbler, I did have a smaller one that I could use to polish smaller gem chips and semi-rounded stones I’d find around our property.
If you’re new to the rock tumbling, here are some resources to help you get started with your own polished stones and findings.
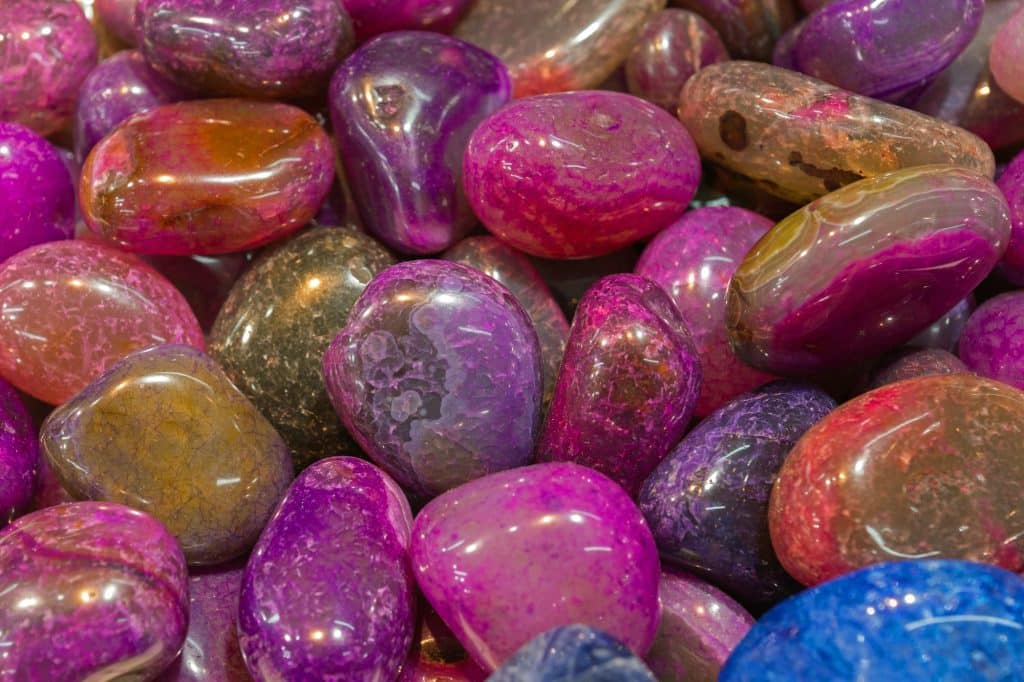
What’s a Rock Tumbler? Rotary vs Vibratory
There are two different kinds of rock tumblers, both of which serve the same purpose—to take rough stones and turn them into beautiful, polished tumbled stones.
A rotary tumbler is the most common type of rock tumbler. It’s a machine with a barrel that lies on its side, rotating, tumbling stones for days. Rotary tumblers produce very smooth, rounded stones.
A vibratory has a barrel that sits upright and shakes rocks rather than rotating. They reduce the time spent tumbling quite a bit but don’t produce the same rounded stones that rotary tumblers do.
Hobbyists that have been into rock tumbling for a while often use a combination of rock tumbling machines, doing the early stages of tumbling in the rotary tumbler, then moving them to a vibratory tumbler to quickly finished the process.
If you like the look of your stones, consider getting a vibratory tumbler. These tumblers smooth and polish your stones without changing their shape too much.
What’s the Best Rock Tumbler for Beginner Hobbyists?
There is a decent selection of tumblers on Amazon alone, including “professional” tumblers meant to handle a large volume of stones at once.
If you’re just trying things out to see if you enjoy tumbling or want to get a gift for your kid, National Geographic’s tumblers are the best place to start.
They have a few different tumblers aimed at different levels of experience, as well as lots of refills for different kinds of stones and tumbling grit.
National Geographic tumbling kits come with everything you’ll need to get started—a tumbler, book, a variety of stones, grit, and jewelry fittings in case you want to turn your polished stones into a necklace.
We’ve also included some tumblers made to support a larger volume of stones, both rotary and vibratory tumblers. (National Geographic currently only has rotary tumblers listed on Amazon.)
Other Equipment and Rock Tumbling Supplies You’ll Need
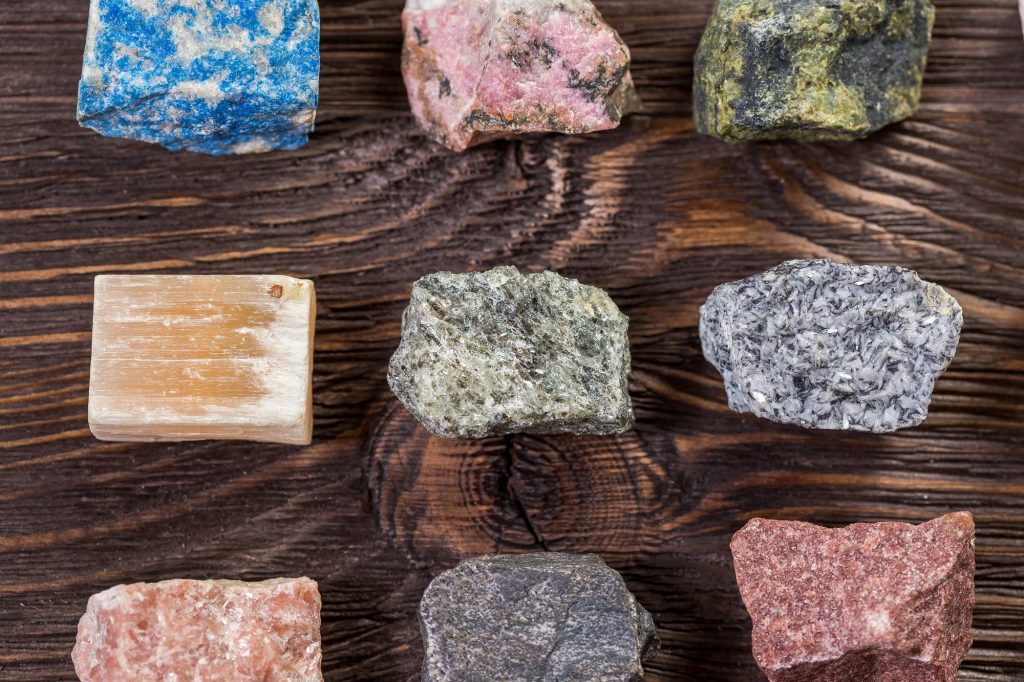
Aside from a tumbler, get some rocks (of course!).
You’ll also need some other supplies to use with your tumbler, namely grit, pellets, and other media depending on what you want your finished product to look like.
These often come in kits that can be easily purchased through Amazon. I’ve included a list of more reputable sellers with listings available through Prime.
Here are some great kits that come with a variety of stones and media for tumbling.
What to Do with Tumbled Rocks
You may also need some other supplies, depending on what you want to do with your finished stones. There are many possibilities—jewelry is the most common one, but you might also want to make keychains, magnets, use them to decorate a vase or even in aquatic decorations.
Be mindful of what you put in water! Some stones don’t hold up to prolonged exposure to water and can even be toxic when exposed to water or other conditions. Please read up on this before you just put anything in your tumbler.
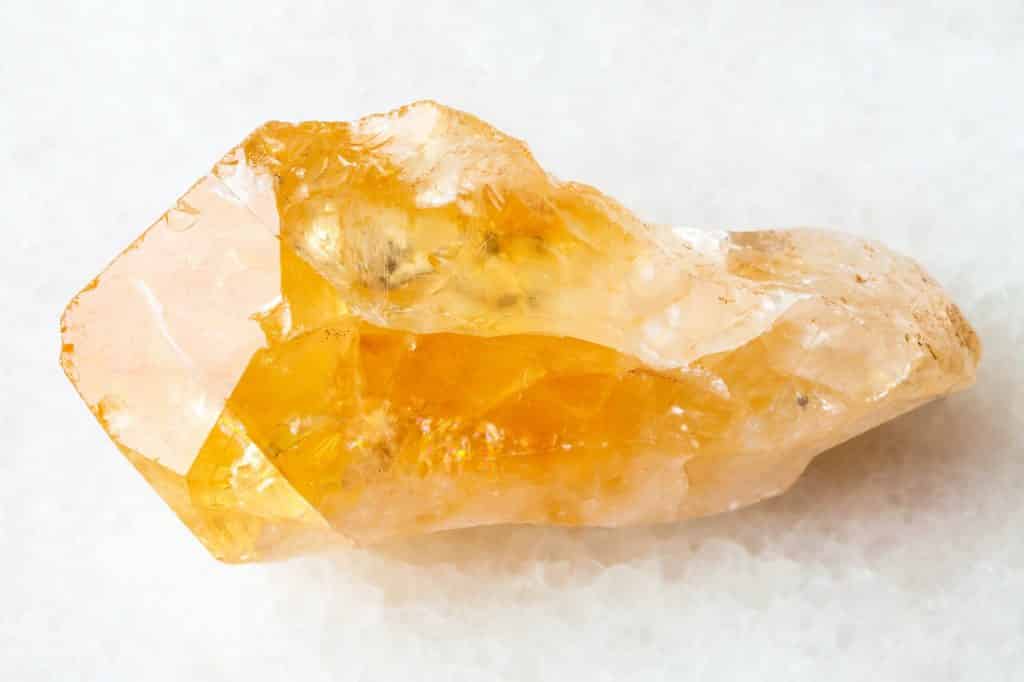
What Rocks Are Okay to Tumble?
Make sure to read this guide for more information on gemstone toxicity, if you’re tumbling your own gems and minerals rather than the ones in the kits.
In general, you’ll want to use the Mohs Hardness Scale for reference. Anything seven or above should be fine in your tumbler. You also can do a scratch test with a piece of quartz if you have some stones you’re not particularly attached to.
If you’re getting a lot of powder off of rock just by scratching it with your fingernail or another soft mineral, keep it far, far away from your tumbler. Not only will soft rock not hold up to tumbling, but it’ll keep your other stones from getting a good tumble.
Things that are porous or have lots of pits in them also don’t do well.
You’ll want to look for stones that are naturally hard (seven or above), somewhat smooth, and don’t have too many pits.
Steps for Rock Polishing
You typically have grit for four (optionally five) stages of tumbling:
- Coarse grit
- Medium grit
- Pre-Polish
- Fine grit/Polish
- Burnish
With a rotary tumbler, tumbling rocks can take anywhere between a month and two months. Vibratory tumblers can produce a finished product in a matter of a couple of weeks.
As mentioned earlier, some people choose to use both types of tumblers, using the rotary tumbler for the course stage to get a nice, round shape, then the rest of the steps with a vibratory tumbler. At most, it usually takes about three weeks.
The last stage, which is optional, is burnishing. This is where you take a fine cloth and polish stones with it until you get a bright finish. Not all stones will look much different, but if things come out of the tumbler looking a little cloudy, try burnishing.
What Else Can You Tumble?
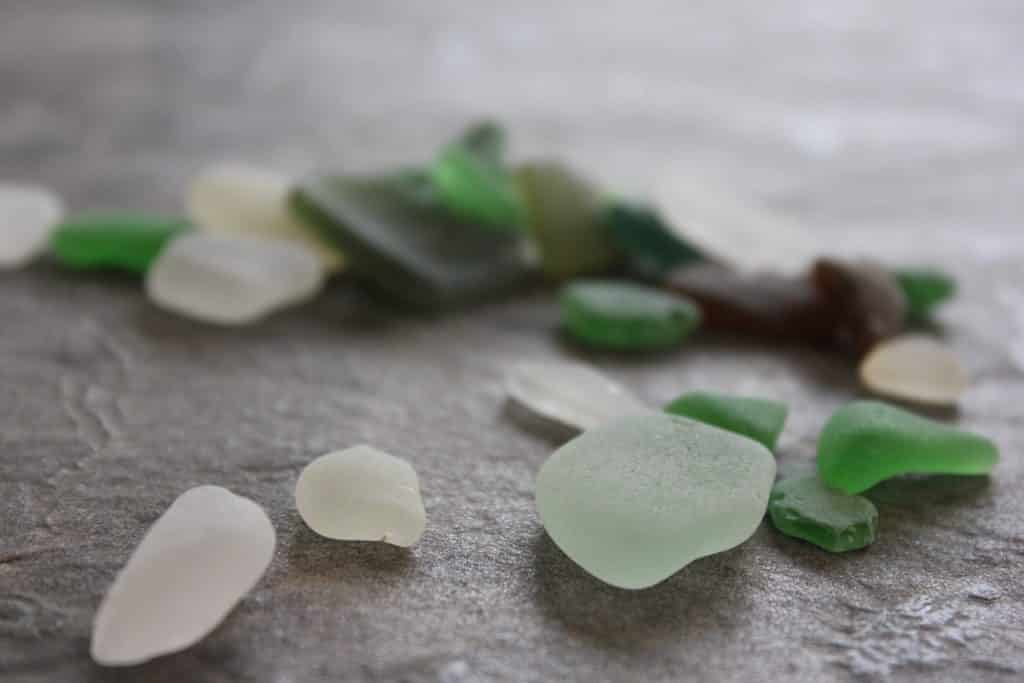
Things like sea glass, shells, and metal detecting findings can be tumbled in larger tumblers, but the process looks a little different. Keep in mind that these are often more fragile than quartz, meaning you’ll need to be careful.
With shells, you’ll typically only want to go through the pre-polish and polish stages. They need to be thick, sturdy, and can’t be fractured anywhere.
Tumbling glass isn’t adviseable if you only have small pieces.
With sea glass, you’ll only want to use large, thick pieces of glass. Most sea glass is already pretty rounded, so you won’t need to spend as much time in the first couple of stages and really only need to spend more time on later stages.
Both sea glass and shells need lots of filler to reduce impact and keep them from breaking. Some of the kits we’ve recommended include foam and ceramic media or plastic pellets, but you can also find those individually on Amazon.
Findings from metal detecting don’t usually need as much caution—just try to clean them up as much as possible first. You’ll still want to use filler.
Bear in mind that if you’ve found collectibles, especially coins, finishing them this way can be frowned upon by other collectors. So it’s fine if you’re keeping them for yourselves, but skip treating them too much if you plan to sell them!
The Finished Product
Once you have nice, polished stones, you’re ready to finish your project.
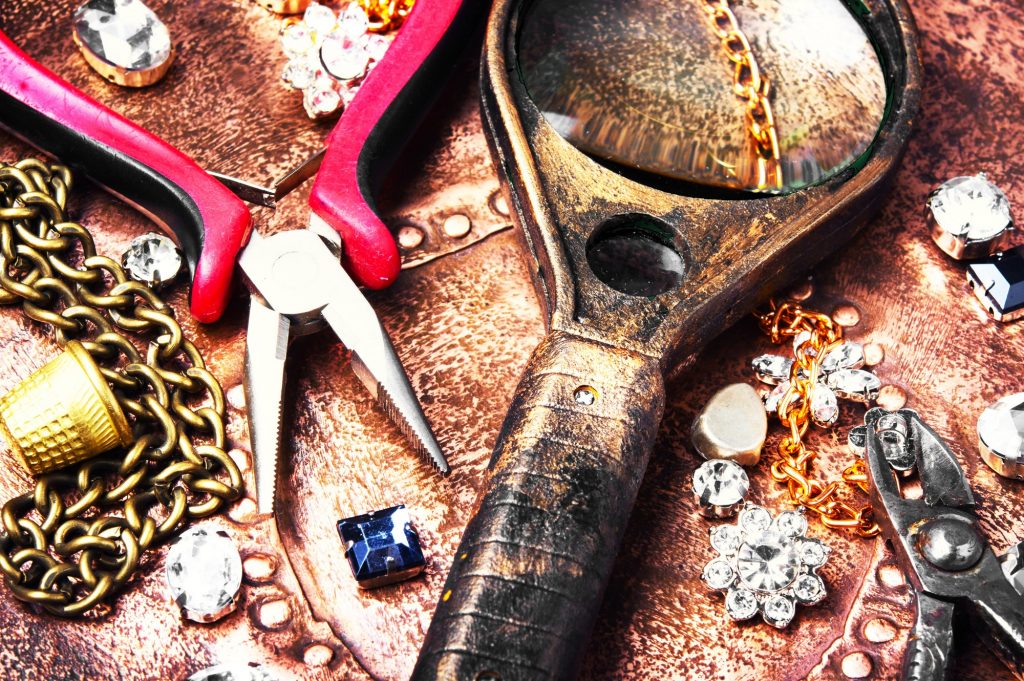
You can put them in a display case if you want to keep them as is. More commonly, they’re used in making jewelry, which we’ll cover in upcoming content.
Here are some of our favorite supplies for display and jewelry in the meantime.
Know a friend who’d love to start his hobby with you? Send this to them or share it on social media!

