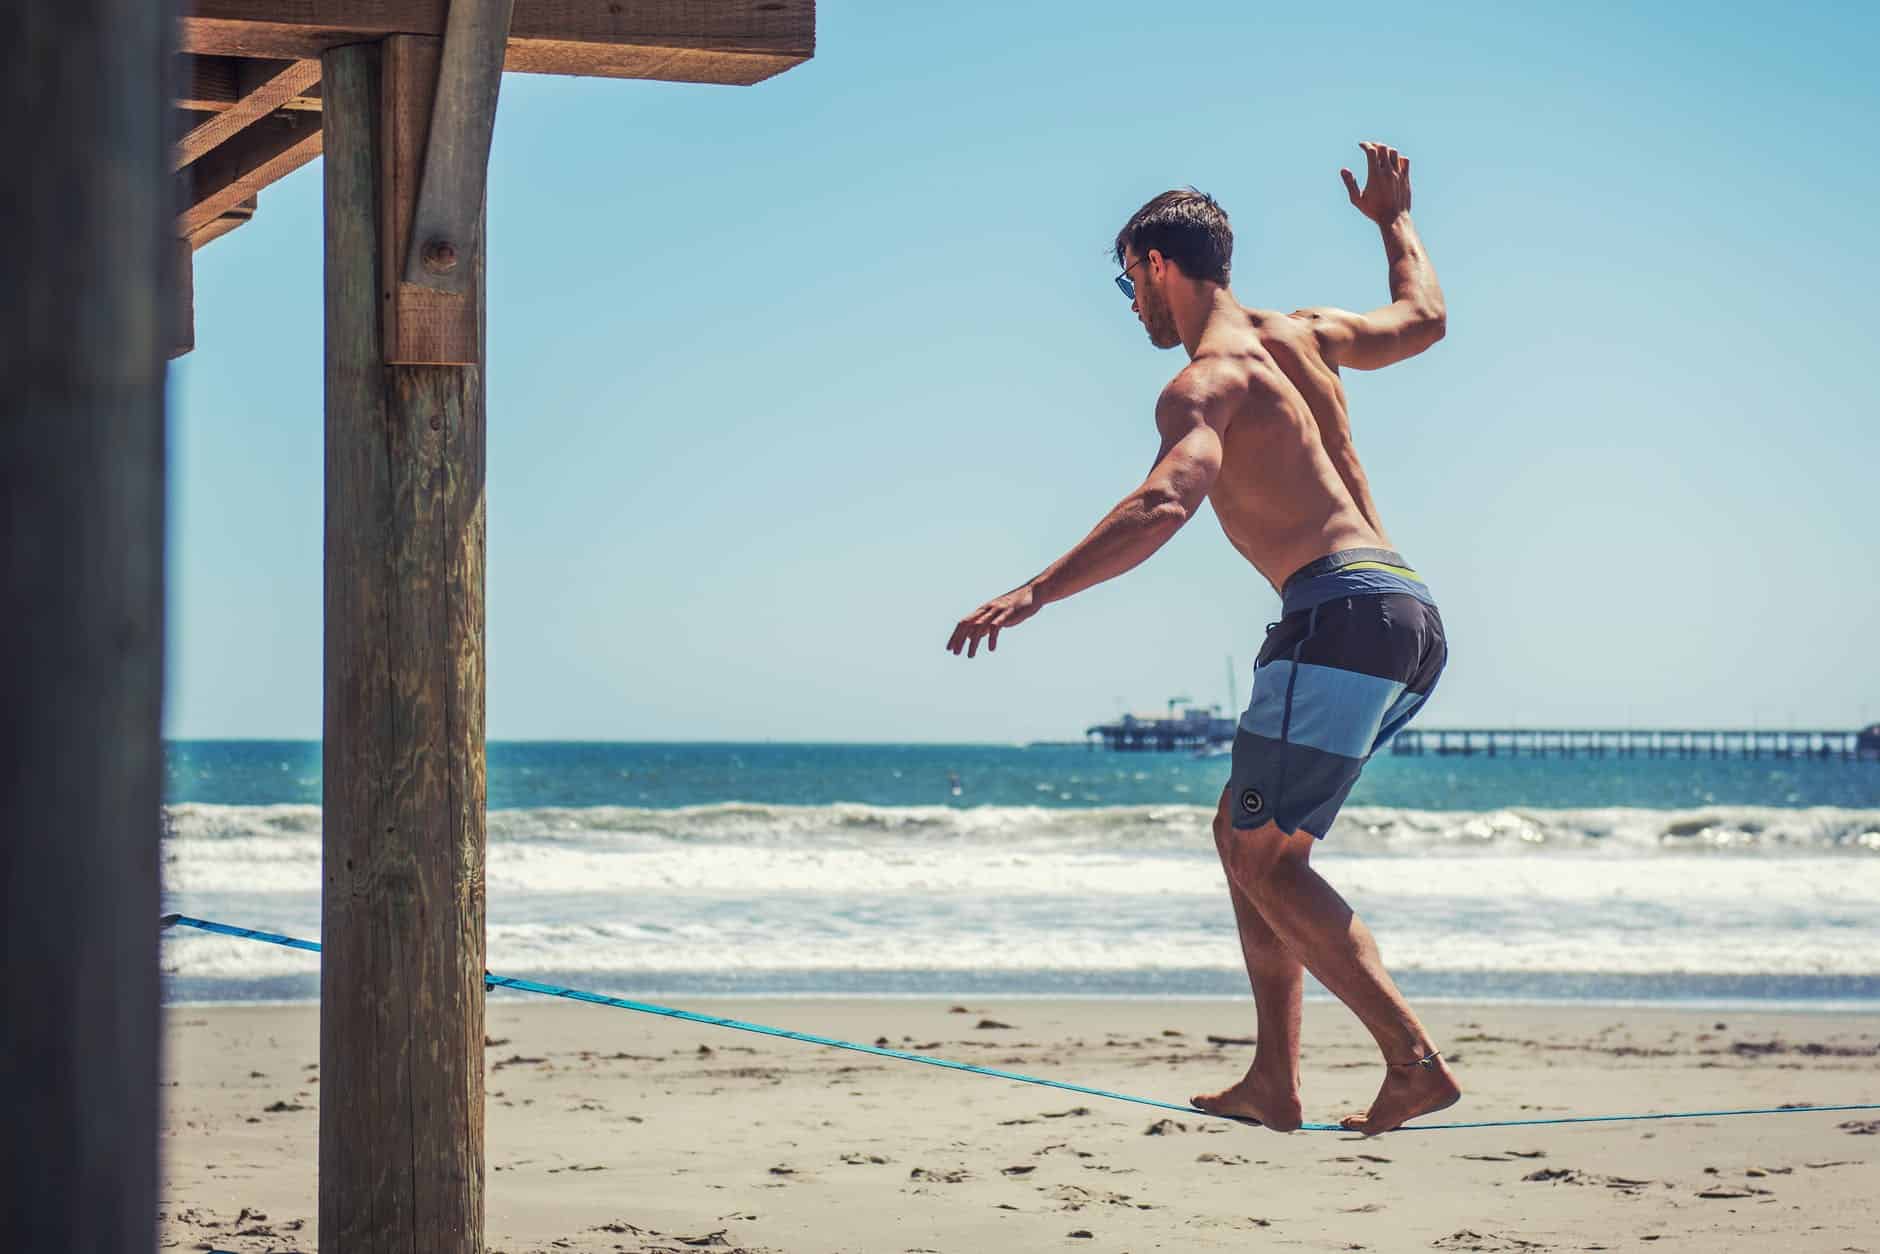
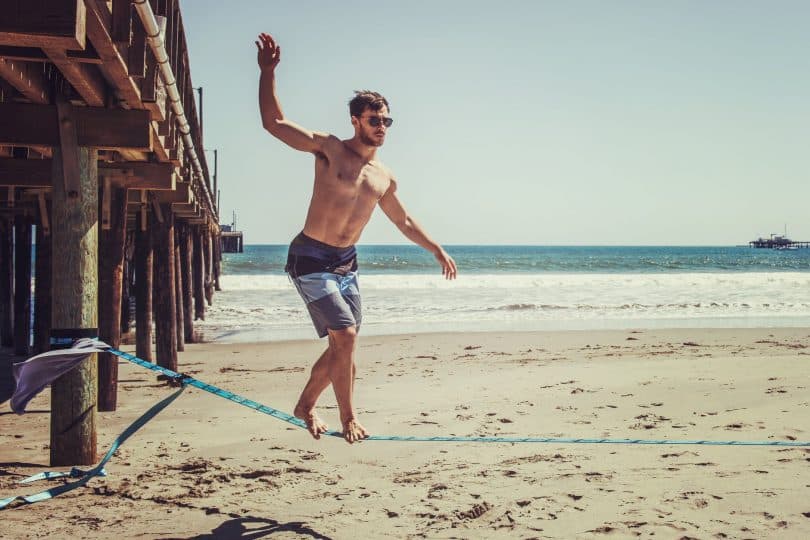
If you want to start a challenging, exciting, and rewarding hobby, slacklining can be it. When you walk on a 2” slackline and learn to balance yourself on it, you feel empowered and accomplished. A slackline tests your focusing and balancing skills, eventually making you feel good about yourself.
Since you need practice and time to become a slackliner, it can be the perfect activity for your next free weekend or family holiday. Once you have the slacklining kit set up, anyone can hop on it to see how coordinated and focused they are. However, you need a proper slacklining setup and some practice before you can actually enjoy this hobby.
So, if you’re interested in slacklining but don’t know how to start it, we heard you. Today, we’ll explain slacklining for beginners and the things you need in your slacklining kit to get the ball rolling. Stick around to know more about this thrilling hobby!
Step 1: Gather the Slacklining Essentials
First things first, you cannot tie just any rope between two trees and consider it a slackline. Slacklines are made from good-quality elastic materials that can bear your weight and help you concentrate on the endpoint. So, start this hobby by gathering slacklining essentials. A beginners’ slacklining kit can cost you anywhere between $50-100, so plan your budget beforehand. Focus on the slacklining kit’s quality and don’t go for the add-ons initially. Not sure what a slacklining kit must include? We got you. Here’s what you need to start this hobby:

Slacklining Kit
A slacklining kit includes slack rope, ratchets, hooks, loops, and tree covers. Some slacklining for beginners’ kits have additional items like swings, hurdles, and cords, but you don’t need them in the beginning. Right now, your slacklining kit should have a good-quality rope, hooks, a training line, and loops to get you started.
If you get a , you don’t have to worry about its quality or assembling effort because they come with easy-to-understand manuals. You can get your slacklining apparatus up and running in minutes; no tough work here.
Protective Gear
Slacklining for beginners often entails injuries, trampling over incidents, and broken ropes. But you can easily avoid these situations if you’re careful enough. You’ll need gloves, knee pads, and wrist pads to protect yourself from potential injuries. If you also plan on getting the kids involved in your slacklining hobby, make sure everyone has knee and wrist pads on.
A Place to Practice
Here’s an important question: where will you practice slacklining? If your lawn or backyard has two strong anchor points (like trees or poles), you’re lucky because you can set up your slacklining apparatus once and practice whenever you feel like it. But, if you’ll tie the slackline in a nearby park, choose a quiet and spacious corner to focus on your hobby.
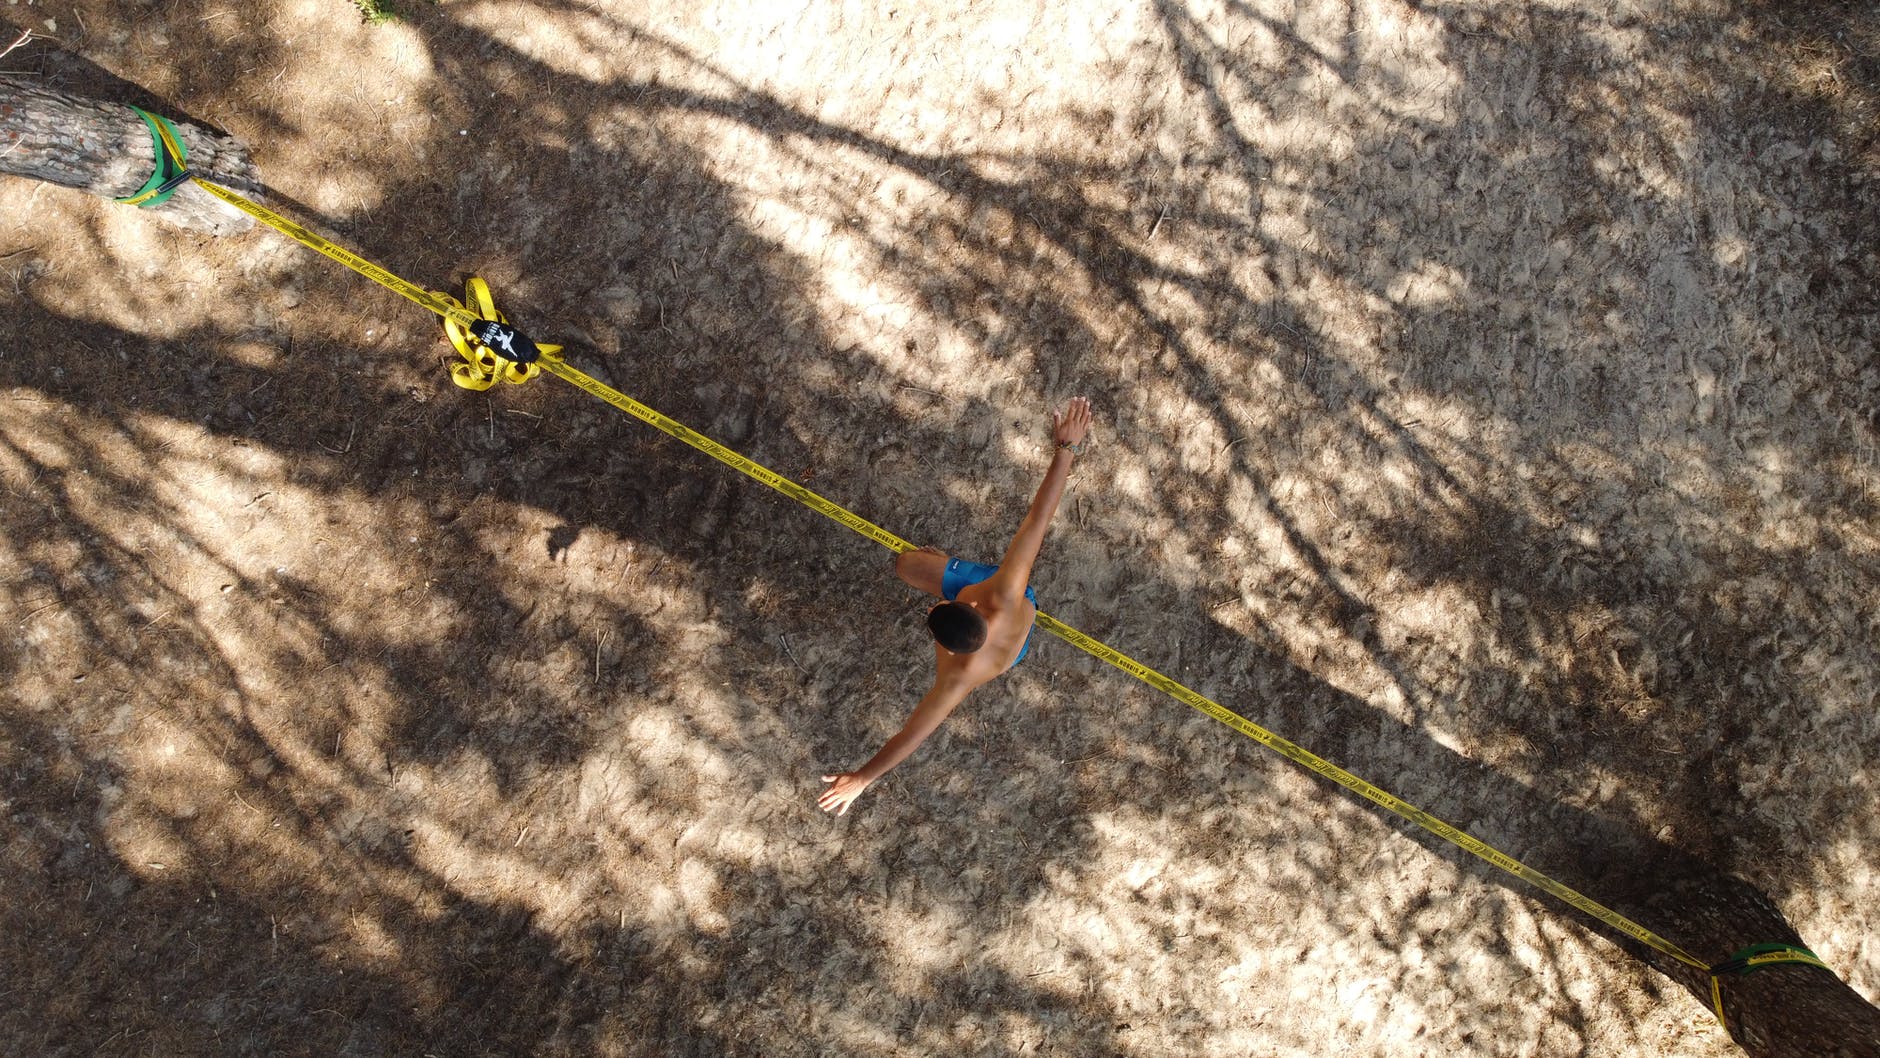
The two anchor points for slacklining should be strong enough to bear 2200lbs of tension to keep you comfortable. If not tress, two poles will also do, but check for their strength beforehand. You’ll need 12-25ft space to start slacklining, and once you master this skill, you can pick wider tracks.
Step 2: Set Up the Rope
After picking a place to learn slacklining, take your slacklining kit along and set it up. A professionally designed slacklining kit will have step-by-step instructions manual to assist you. But here are the primary preparation steps of slacklining for beginners:
- Wrap the tree protectors on tree trunks to prevent abrasion and scratches.
- Overlap the protectors with your slackline and make a loop out of it.
- Run the slackline across the loop and take it to the opposite anchor point.
- Once you’re happy with the slackline’s tension, close its rachets to retain it.
- Use ratchet protectors to keep all loops and buckles in place.
These basic steps are enough to get you started with slacklining, but if your slacklining for beginners’ kit has add-ons, follow its instructions manual. Some slacklining kits have hurdles, swings, and ladders to make it more fun. If your kit includes these, check the manual to put them together.
Whether your anchor points are trees or poles, will keep the slackline in place and prevent slips, so don’t overlook their importance. Moreover, an over-head slacklining arm trainer is also good to boost your confidence and improve your coordination skills. If you’re worried about falling over or trampling on the slackline, tie a training line above the main line in the practice stage. Once you’re confident enough, take off the training line and walk independently.

Step 3: Start Practicing
You cannot master a focus and balance-related hobby overnight because these things require time. Once you have set up the slackline, dedicate 20-30 minutes every day to practice it. If you struggle with balancing, you might take 3-5 weeks to walk on a slackline. But if you start off strong, you’ll be good at slacklining within two weeks.
Step 4: Record your Slacklining for Future Reference
Sure, slacklining is a good time killer, but that doesn’t mean you can’t take it to the professional level. If your local park organizes slacklining competitions or someone in the family has challenged you for a face-off, practice hard. Recording yourself while you walk on the slackline and going over this video will yield exciting results. You can pinpoint your posture and coordination flaws this way and avoid them in the next practice session.
Is Slacklining for Beginners Difficult?
If you like slacklining but don’t know whether this is something you can do, we have good news. Slacklining is a fairly simple skill that you can learn at home and improve over time. When you’re new to slacklining, tie the line a little low (say knee length) to check your balance and walking skills. Once you feel confident walking above the ground, you can tie the rope higher (hip length) to challenge yourself even more.
Another step you can follow to make slacklining easier is using a . The training line is another rope you tie above the primary slackline to balance your weight. Say you connect a slackline 3-4ft above the ground but walking on it in the first go seems tough. You tie another line 2ft above your head and attach some anchor hooks to it. Now, you can support yourself with the over-head hooks and complete the line without trampling over.
Once you feel good about slacklining, you can even try an upside-down line. You tie this line 2-3ft above your head and put some hanging anchors on it. This slackline is especially useful for kids because you attach multiple obstacles, ladders, and nets with it to improve their skills. An all-in-one slackline for kids will include everything you need to put together a nice setting, so you don’t have to work much.
Final Thoughts
Slacklining is a challenging yet exciting hobby for all age groups. Whether you want to make family picnics more fun or improving your balancing skills is the goal, gift yourself a slacklining kit and get started. Walking above the ground will feel difficult initially, but if you’re consistent, you’ll soon hone this skill.
Since slacklining is all about practice and patience, it’s the perfect pastime for you to adopt. No worries if you’re new to slacklining because you can start simple and increase the difficulty level with time. So, are you ready to challenge yourself? If so, get a slacklining kit right away and start practicing.
Looking for more interesting hobbies to start today? Check out our post on wood carving!


